Super User
Tongariro - Taken South
The second of 2 short par 4's in succession. Again requiring an accurate second shot. Not a lot to be gained with the tee shot, so long as it is not in the pond to the right of one of the 4 fairway traps you are in good position. Like the 11th green distance control is essential 2 bunkers cut into the hill protect the elevated green.
Ruapehu - Two Explosions
The hole is broken into 2 segments by a small creek running across the fairway short of the green. A shot played to the same side of the fairway as the pin is on often leaves an easier second shot. A demanding shot is asked of the player here. The green is kidney shaped and very narrow in the middle.
Water & Kowhai Tree
The green is set into the side of a hill, getting wider further up the green. The hole generally plays longer than it looks as anything short will feed into one of three deep bunkers guarding the front of the green.
Kirikiri Maha
A long par 4 well protected down the right with 6 fairway bunkers. A well-struck tee shot shaped right to left down the fairway leaves you in good position for your second.
Farmer's Folly
Arguably one of the most demanding holes on the course. Finding the fairway is essential for a good score on this hole. You can bite off as much as you dare down the right hand side although the risk does not always match the reward, any shot from the upper area of fairway leaves a short iron to the green.
Huka - Foaming Waters
A good tee shot sets up this hole well. A drive close to the right hand side of the first fairway bunker is ideal. Shape the tee shot left to right if you wish, avoid going left at all costs. Providing you've found the fairway you're left with a straight forward shot to a large flat green.ach shot.
Rawhiti - Sunrise
Yes the hole is as impressive as the view from the tee. The tee shot needs to be well struck with length more important than direction on this reasonably wide fairway. Your course guide and pin placement sheet will be of assistance to this elevated green. You will be well advised to avoid the deep bunker cut into the front of the green.
Te Huringa - Turning Point
A demanding par 3 from all tees choice of club is crucial to this very shallow green. If in doubt with club selection take an extra one. Check wind direction by looking at the tree tops and flag as the tee can be deceptively calm. The problems don't stop there the green slopes from back to front making a long two putt tricky.
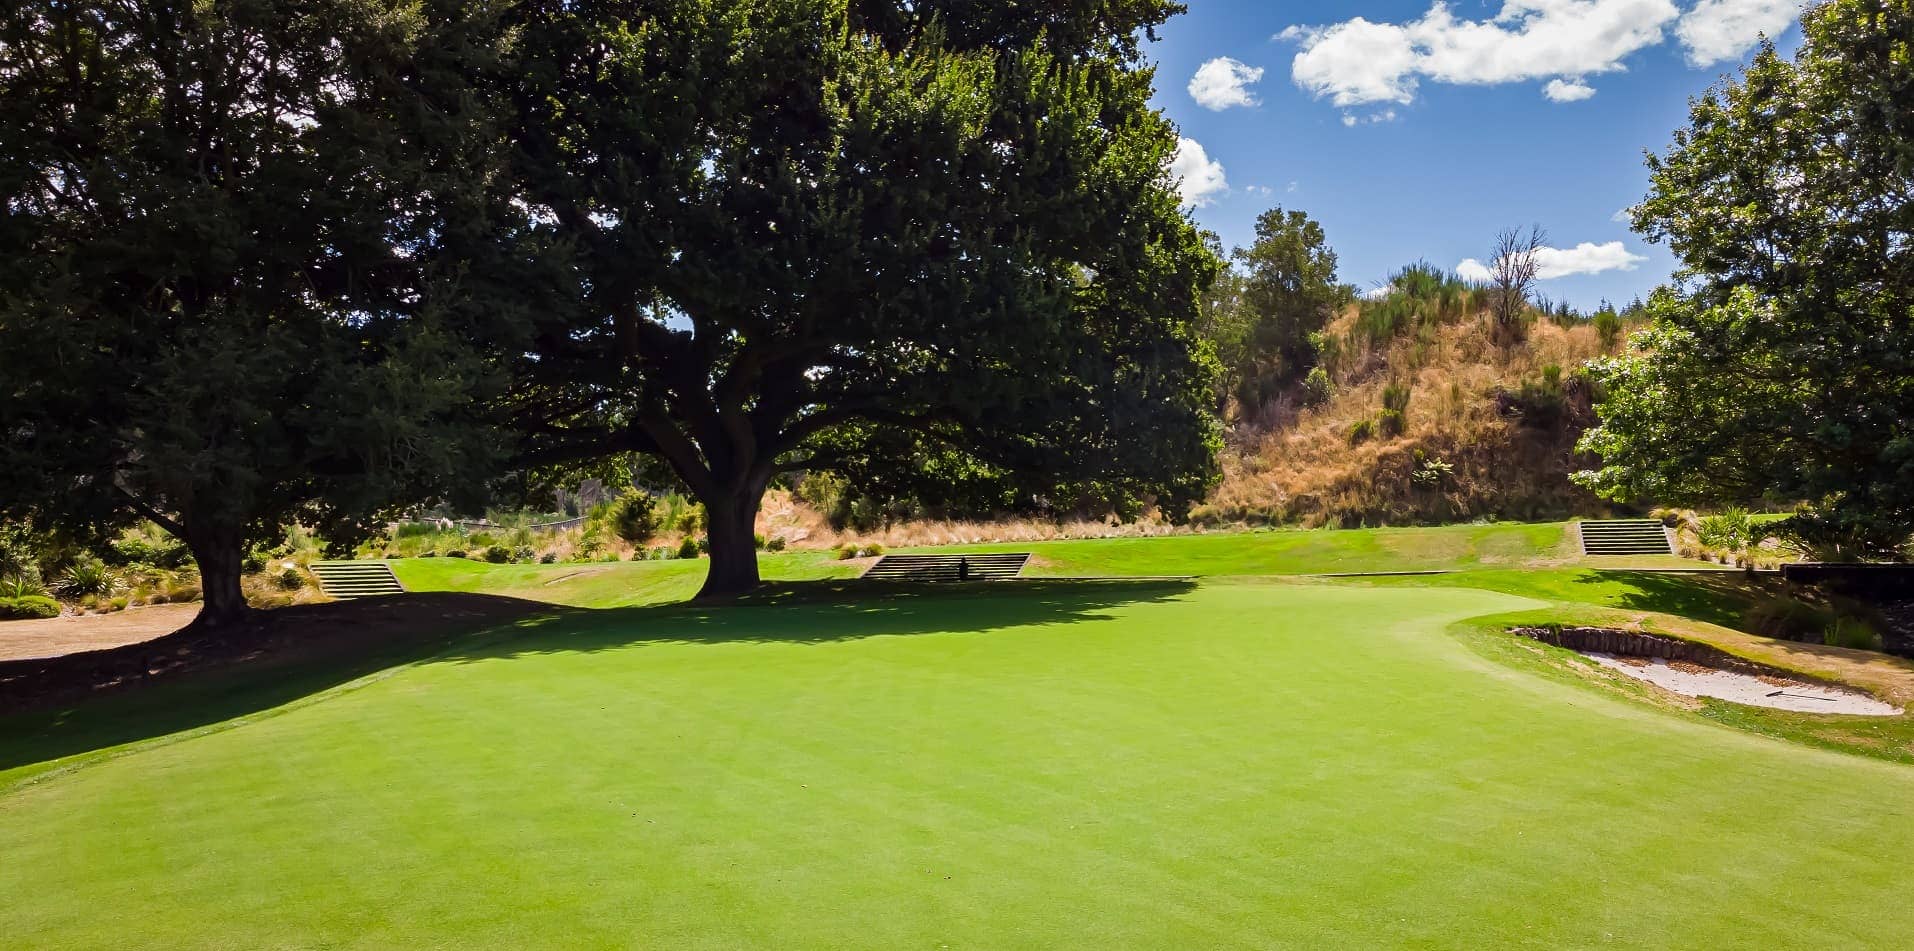
Old Oak
A short par 4 that requires two well-played shots. The tee is demanding, avoiding the large pine tree to the left is crucial. Driver is not always the club of choice as the two fairway bunkers to the right are reachable, either lay up short or shape the ball right to left.
Karapiti - Broken Old Man
A par 5 which gets more demanding the closer you get to the green. A tee shot down the right hand side will generally kick back into the fairway.


