Super User
Hole 8
As you approach this hole, your choice of angle off the tee is crucial. Both left and long or short and right off the tee will place you in challenging situations. The widest part of the fairway, and the best view of the green, sits over the left edge of the first pond. Aiming at the centre of the green with your approach gives you the best chance of hitting the putting surface, but hitting the correct tier of the green will largely dictate how many putts are required. A forward pin position provides a shorter approach, but the green widens as the pin moves back.
Hole 7
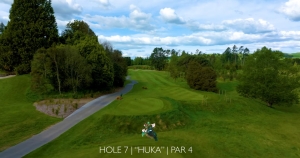
On the second of the shorter par 4s, strategy takes the forefront. The hole doesn't always require a driver from the tee, a well-positioned tee shot that clears the fairway bunker sets up an ideal approach. The green is relatively flat, but distance-control is essential to carry the two front bunkers and avoid overshooting.
Hole 6
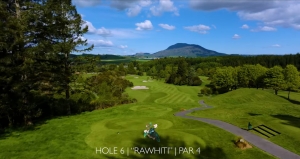
Prepare to be awe-struck by the breath-taking view of Mt Tauhara from this elevated tee. A well-struck drive through the saddle offers the best opportunity to reach the lower level of this two-tiered fairway. The left side of the green is your closest chance, while anything to the right increases the probability of a demanding up-and-down.
Hole 5
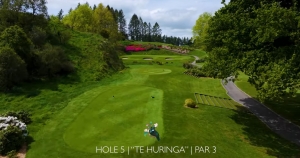
Take note of the pin's position on this par 3, this hole introduces you to Wairakei's feature narrow greens. Err on the side of caution, and club up if you're in doubt; especially if the pin is on the left. Appreciate the delicate balance between man-made and natural elements; the creek meandering through the landscape adds to the charm.
Hole 4
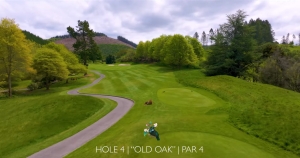
Your journey starts with a well-placed tee shot to avoid the imposing pine on the left and the two bunkers on the right. For big hitters, leaving your driver in the bag is a wise choice; a creek lies hidden below the end of the fairway. Once safely on the fairway, good contact with the correct choice of club becomes essential for your approach into this diagonally situated green, which features challenging drop-offs both short and long.
Hole 3
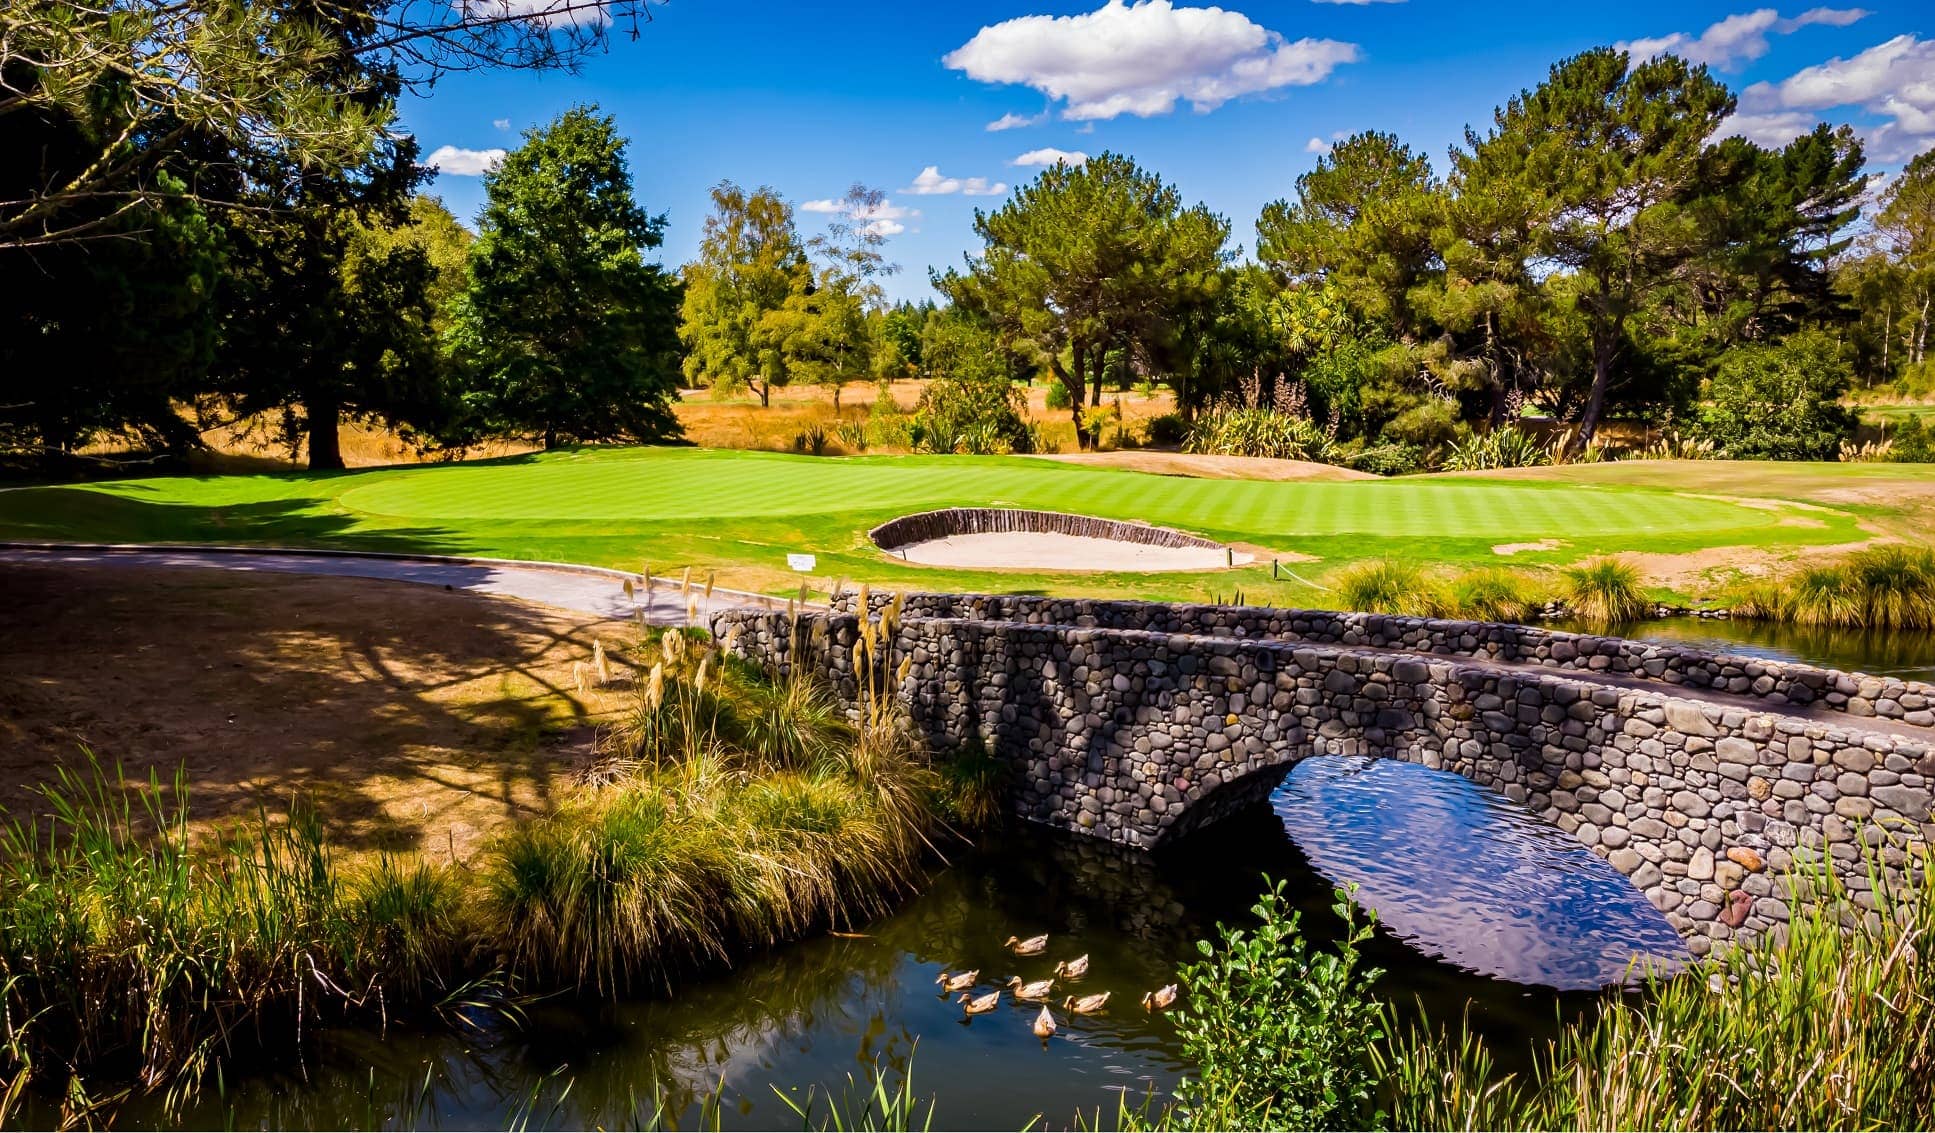
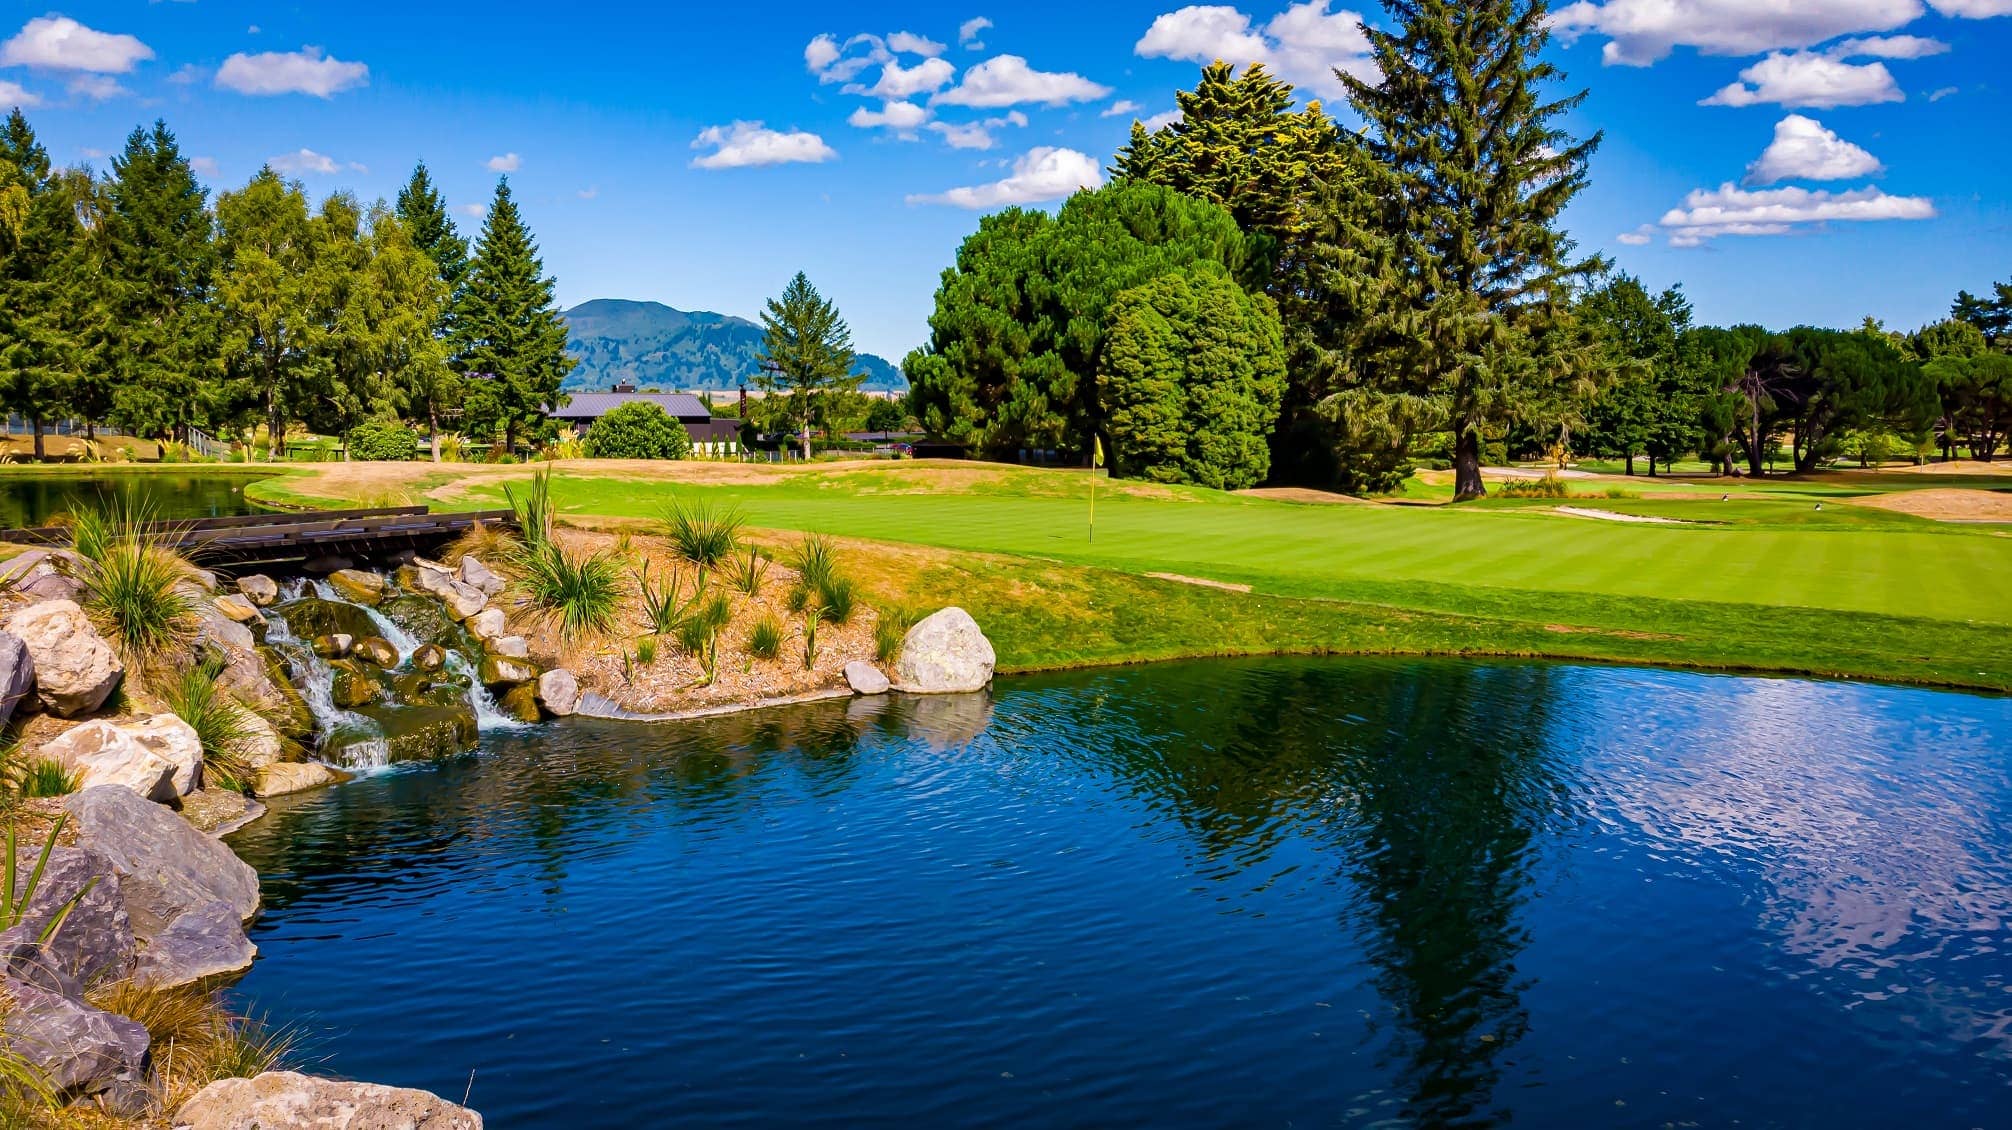
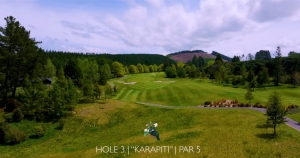
A generous amount of fairway to the right should allow you to avoid the two bunkers on the left. Starting in the southeastern-most corner of the course, this hole often plays into the wind adding an extra layer of challenge. The remainder of the hole is protected along the right side by a series of ponds and waterfalls. The most favourable angle into the green is from as far to the right side as you dare, while avoiding the water. A large bail out area left of the green is available however this will leave a challenging up and down facing the hazard.
Hole 2
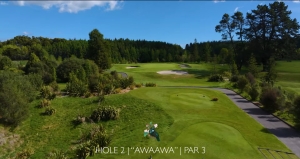
This hole, a true brute from the back tees, offers a picturesque view of the surrounding landscape. Anything that finds the green is acceptable, but understanding the pin position is crucial from the club tees. Simply reaching the long, two-tiered green may not guarantee an easy two-putt, so plan your approach carefully.
Hole 1
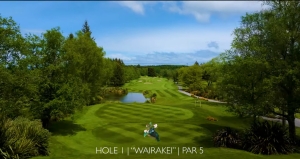
The first hole, the shortest of Wairakei's par 5s, eases you into the round: the landscape's beauty surrounds you, and Peter Thomson's design takes full advantage of it. Don't let the tranquil stream and pond surrounding the tee distract you; instead, focus on finding the fairway. The best chance of hitting the correct level of this large, two-tiered green, is to avoid the bunkers protecting the end of the fairway with your second shot.
Cafe
Wairakei Golf + Sanctuary – Clubhouse Café


We invite you to enjoy the warm welcoming atmosphere and friendly service of the Wairakei Clubhouse Café. Fully licensed, serving fresh and delicious food whilst overlooking the beautiful scenery of the golf course.
We can arrange packed lunches, after golf platters or private luncheons. If you have any queries please don’t hesitate to contact our Front of House manager, 07-374-8152.
Operating hours:
Peak season - 18th September 2024 to 11th May 2025, open 7 days a week from 8am to 3pm.
Off Peak season - 12th May 2025 to 16th September 2025, open Wednesday to Sunday from 8am to 3pm.
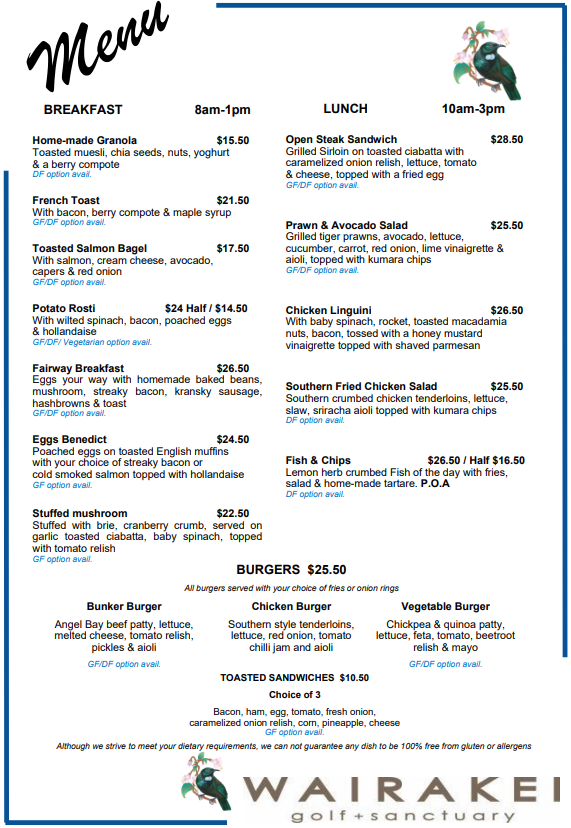
Daily menu (subject to change):
