Booking Enquiry


Video
Tee shot 1
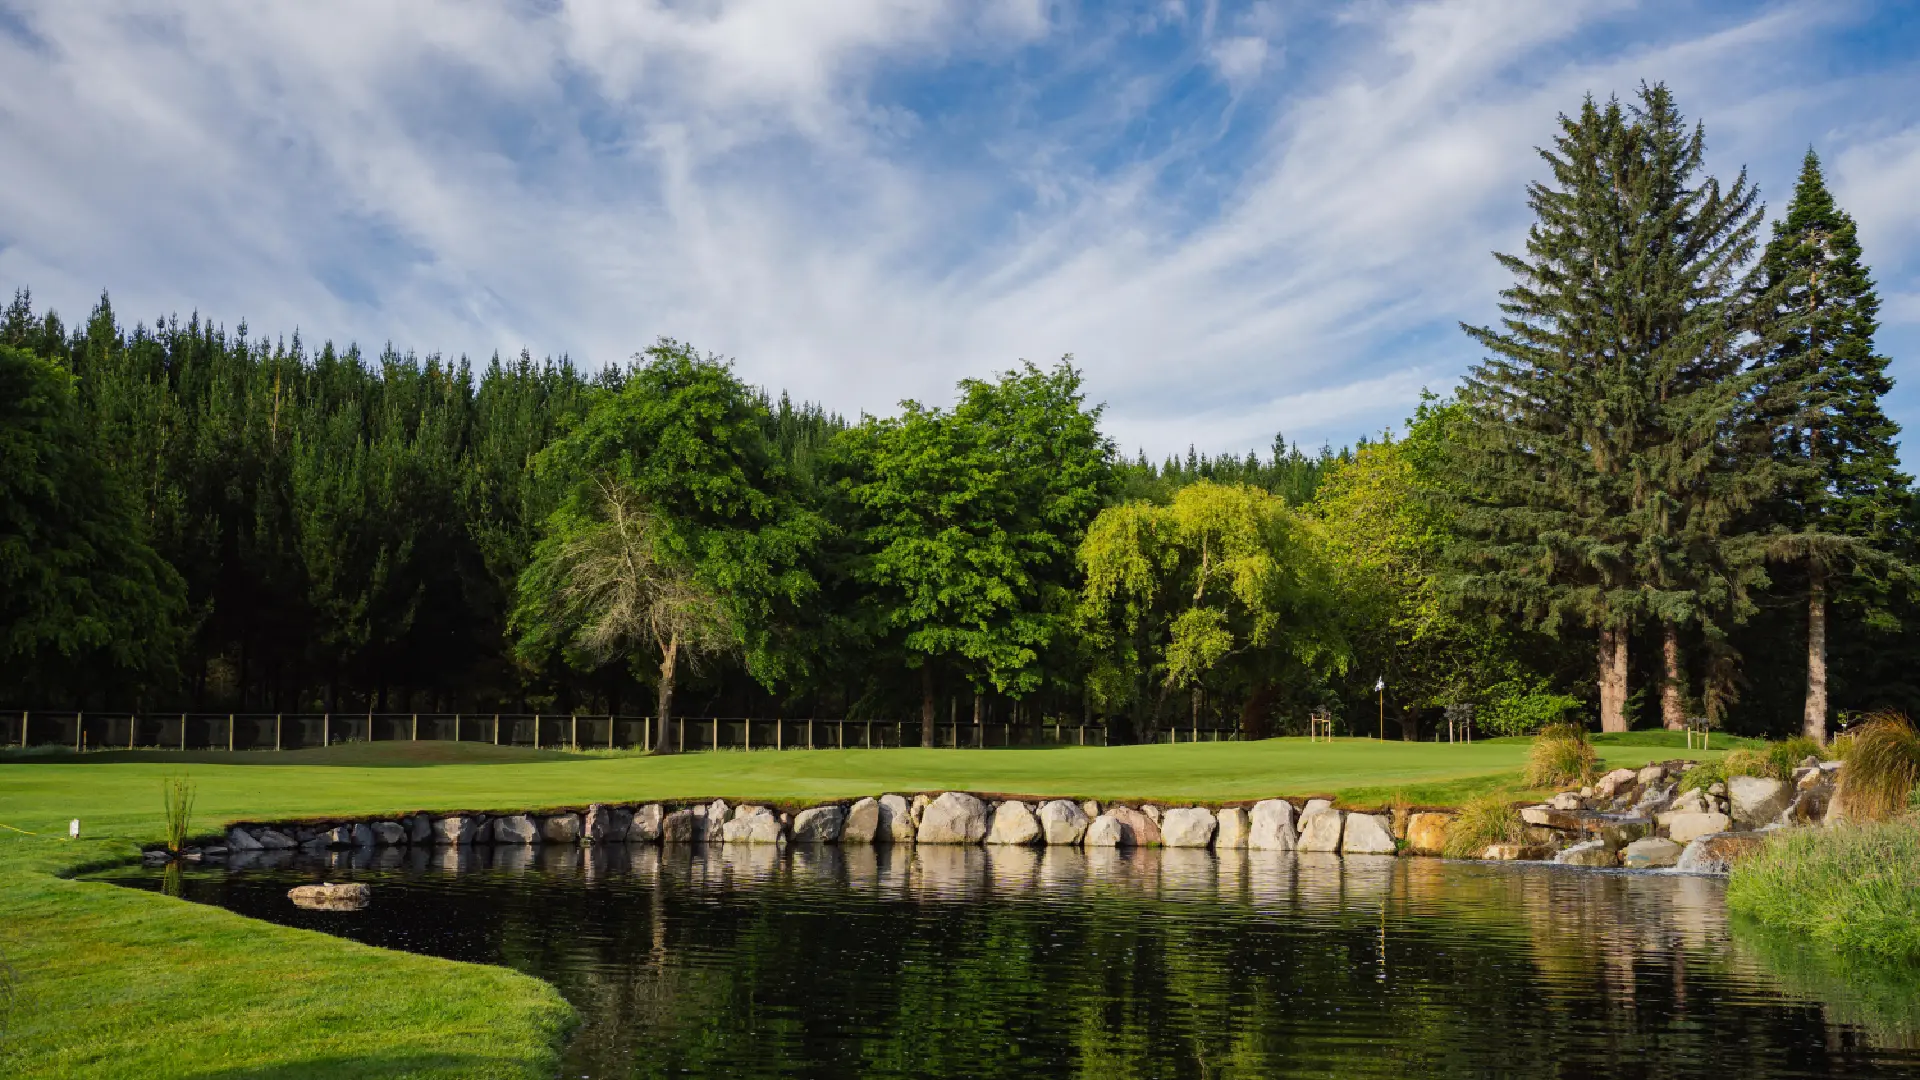
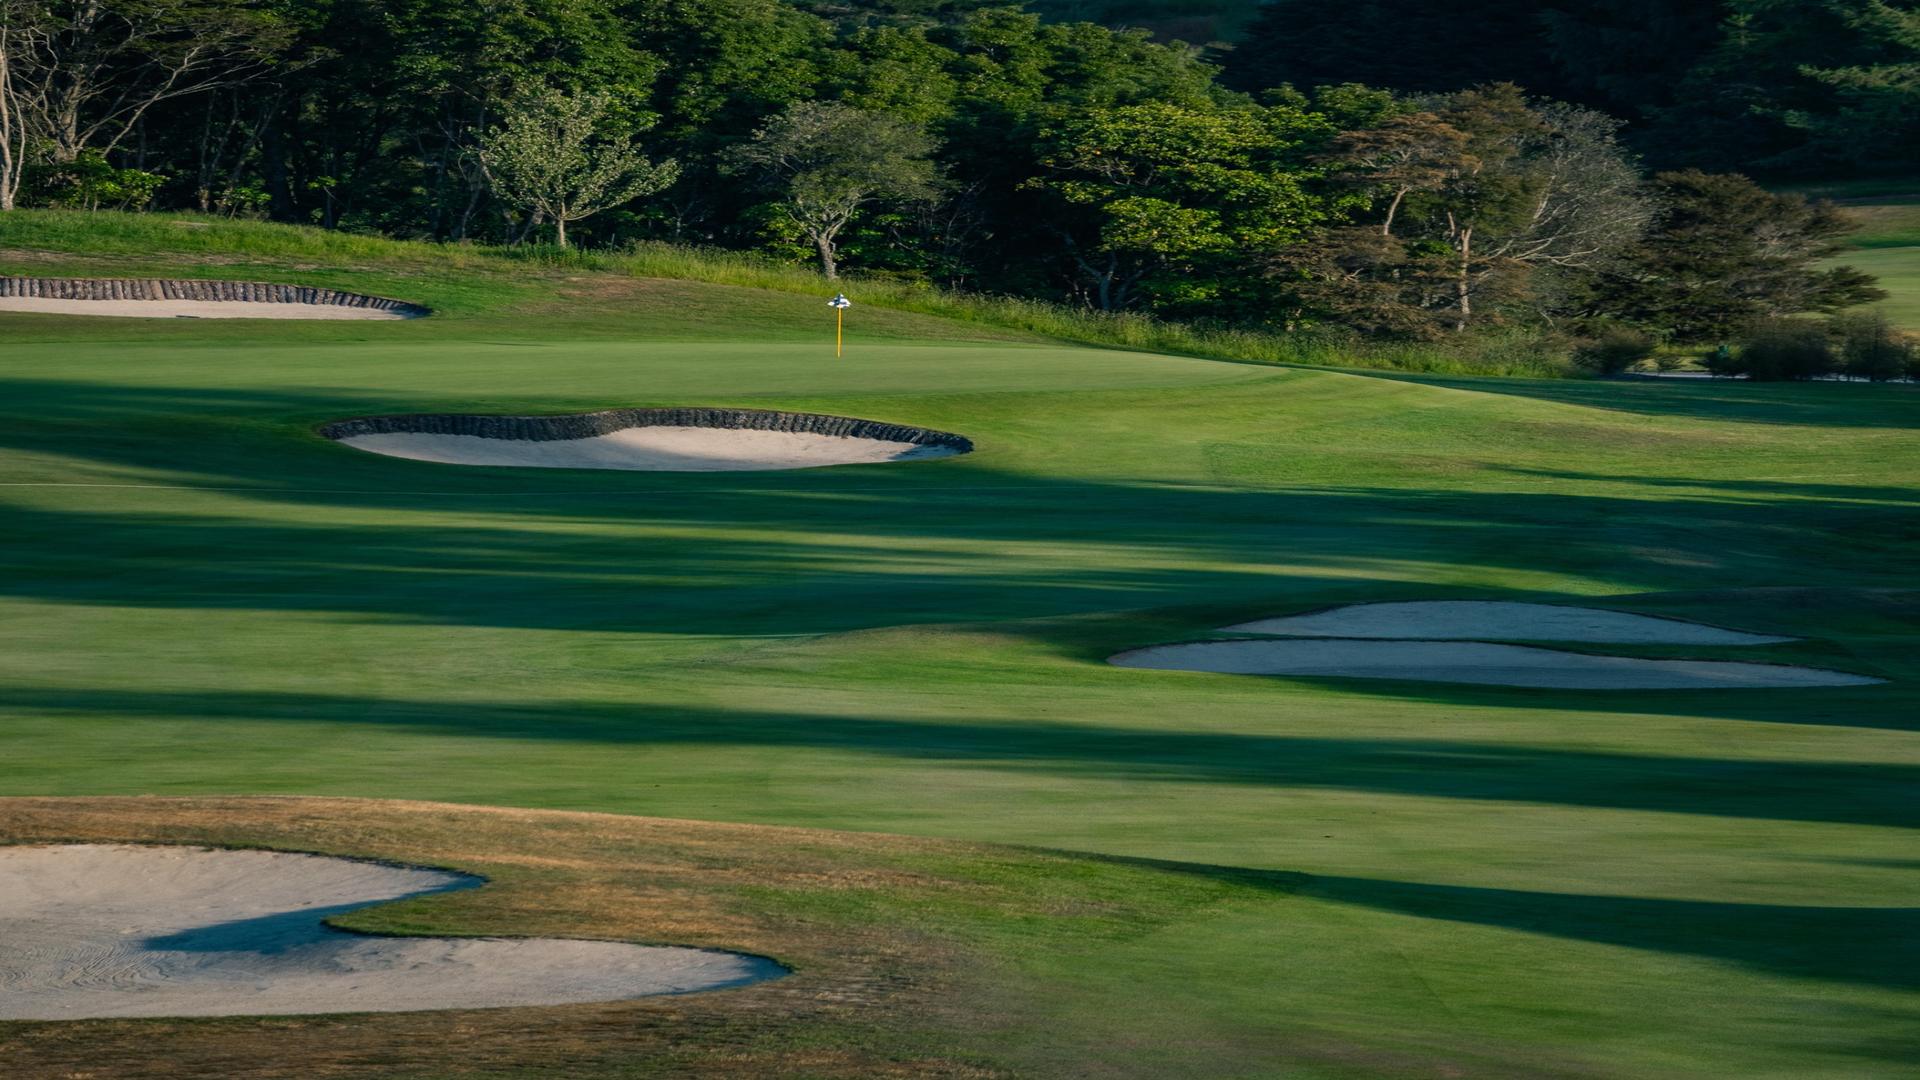
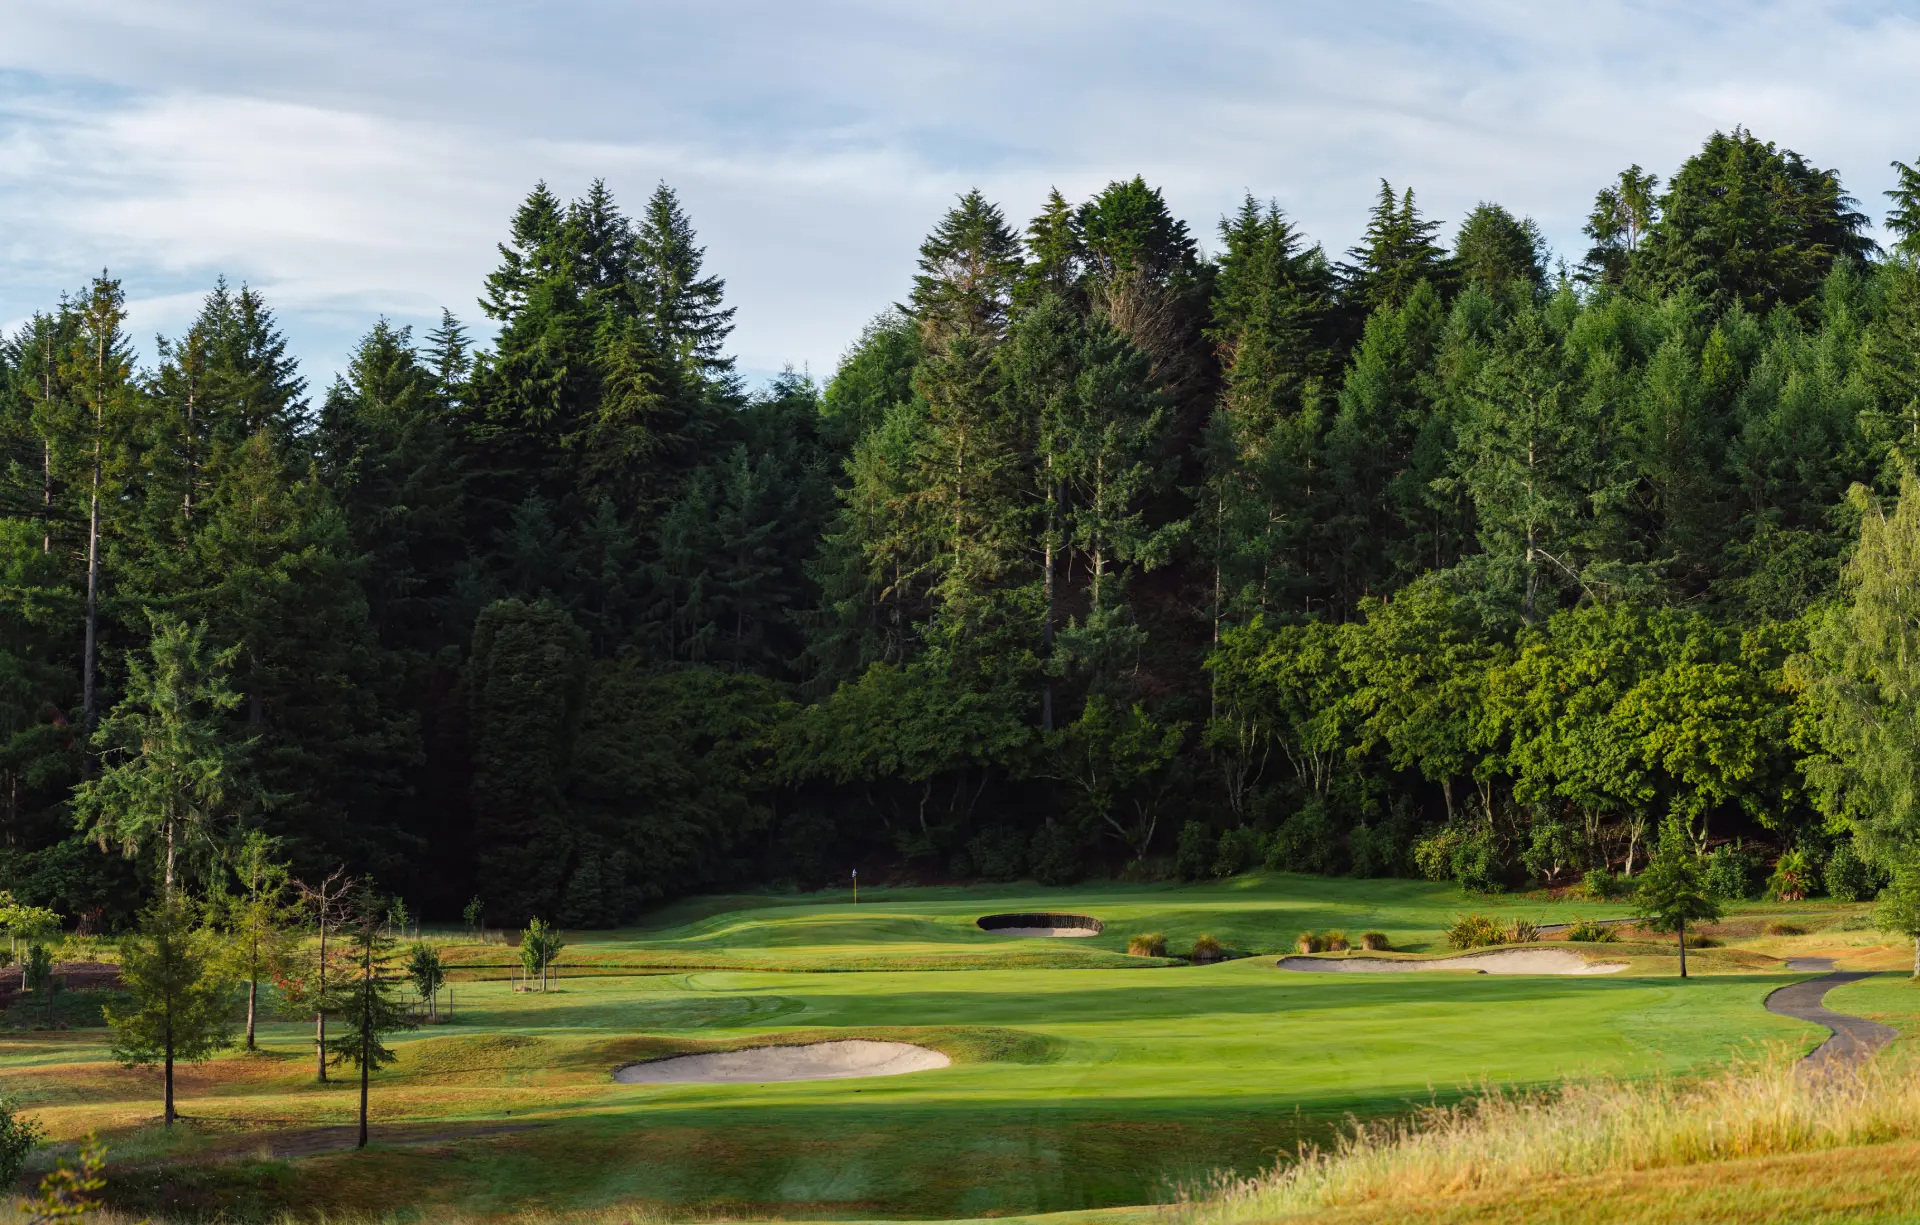
Hole 1 - WAIRAKEI | Par 5
The first hole, the shortest of Wairakei's par 5s, eases you into the round: the landscape's beauty surrounds you, and Peter Thomson's design takes full advantage of it. Don't let the tranquil stream and pond surrounding the tee distract you; instead, focus on finding the fairway. The best chance of hitting the correct level of this large, two-tiered green, is to avoid the bunkers protecting the end of the fairway with your second shot.
Tee shot 2
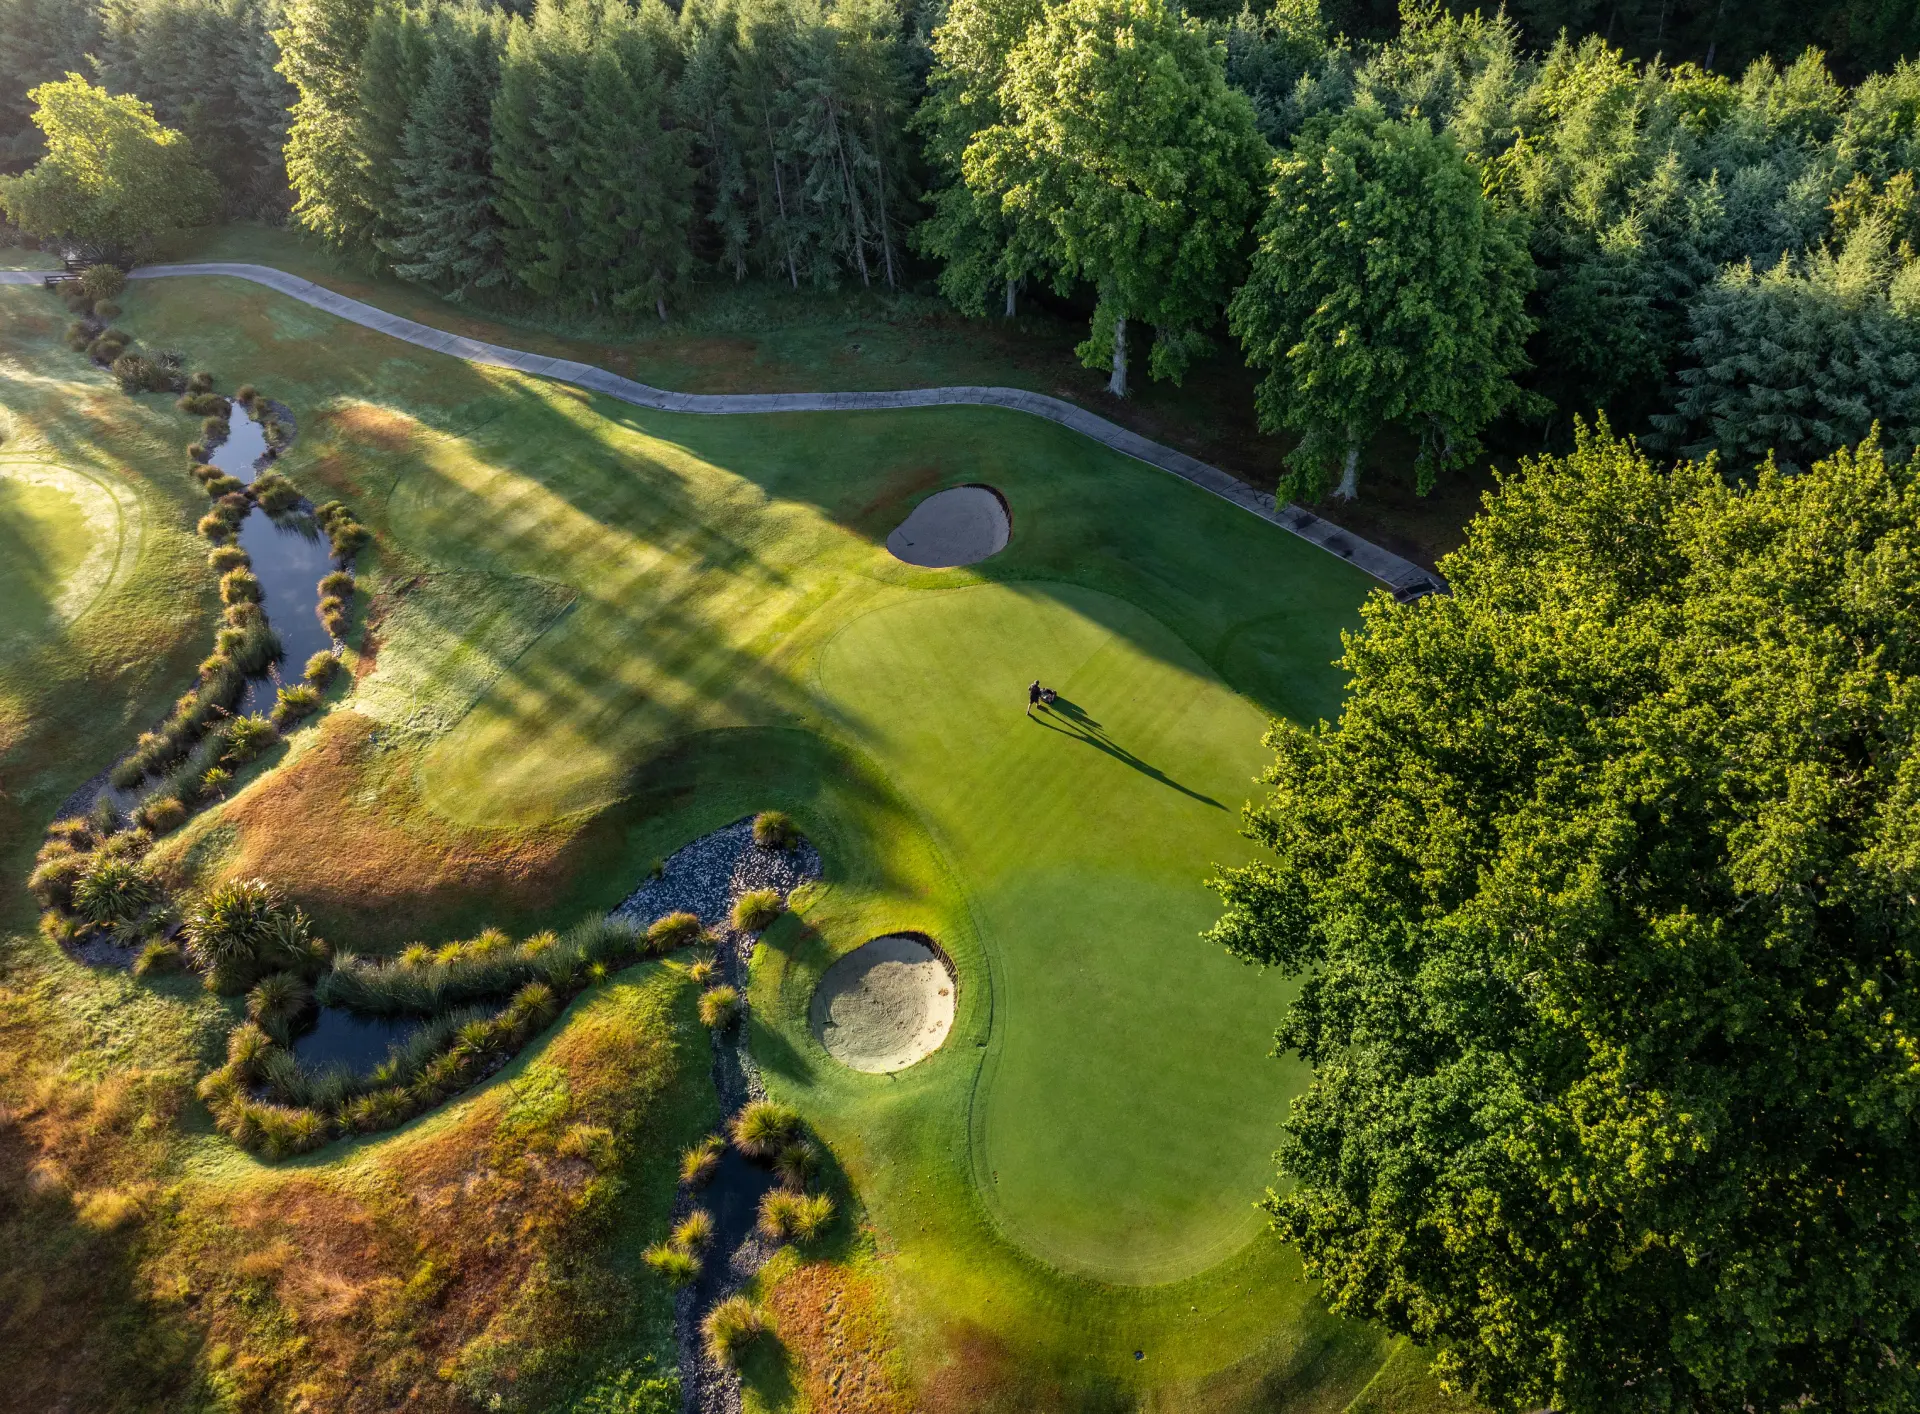
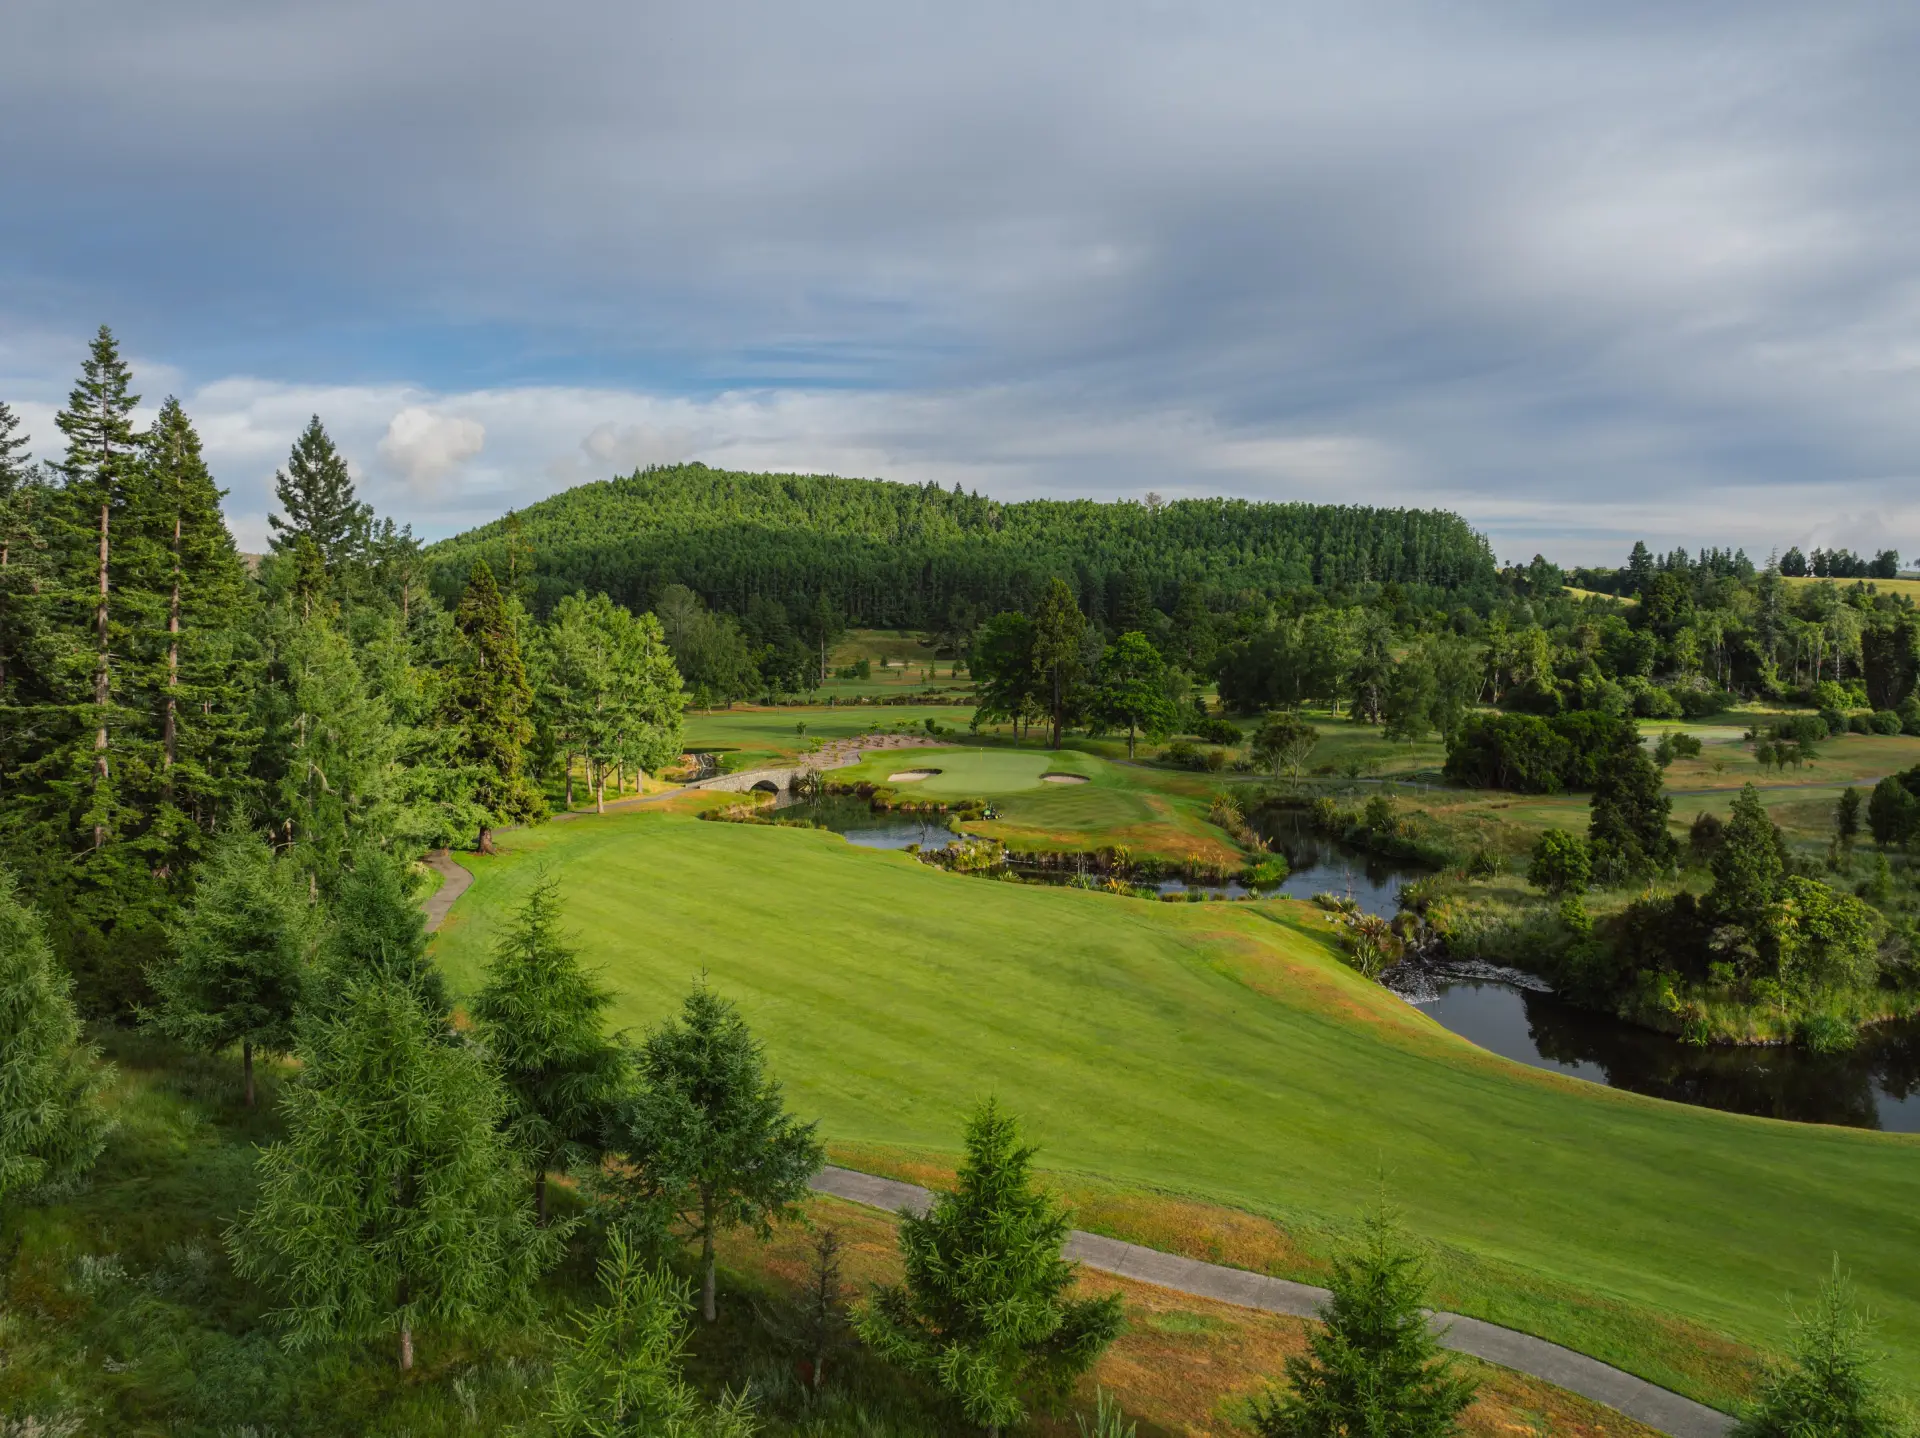
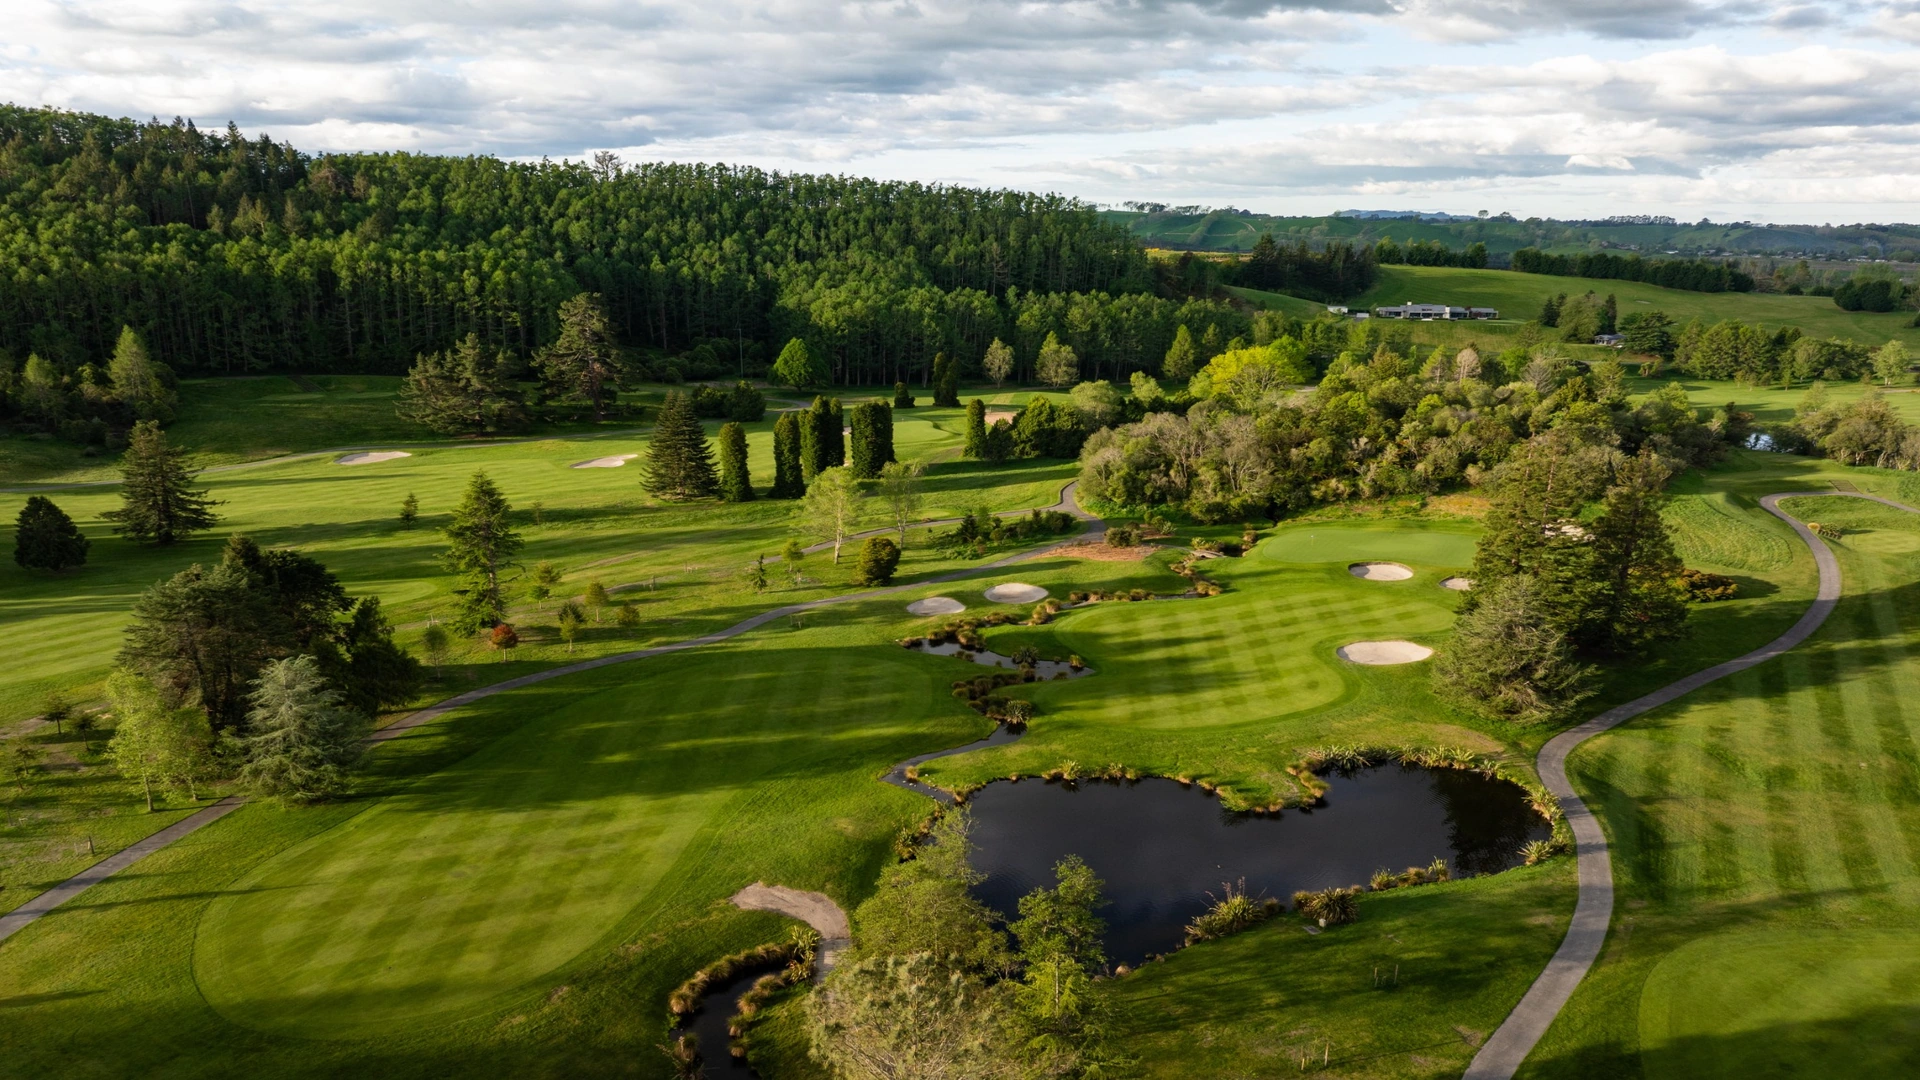
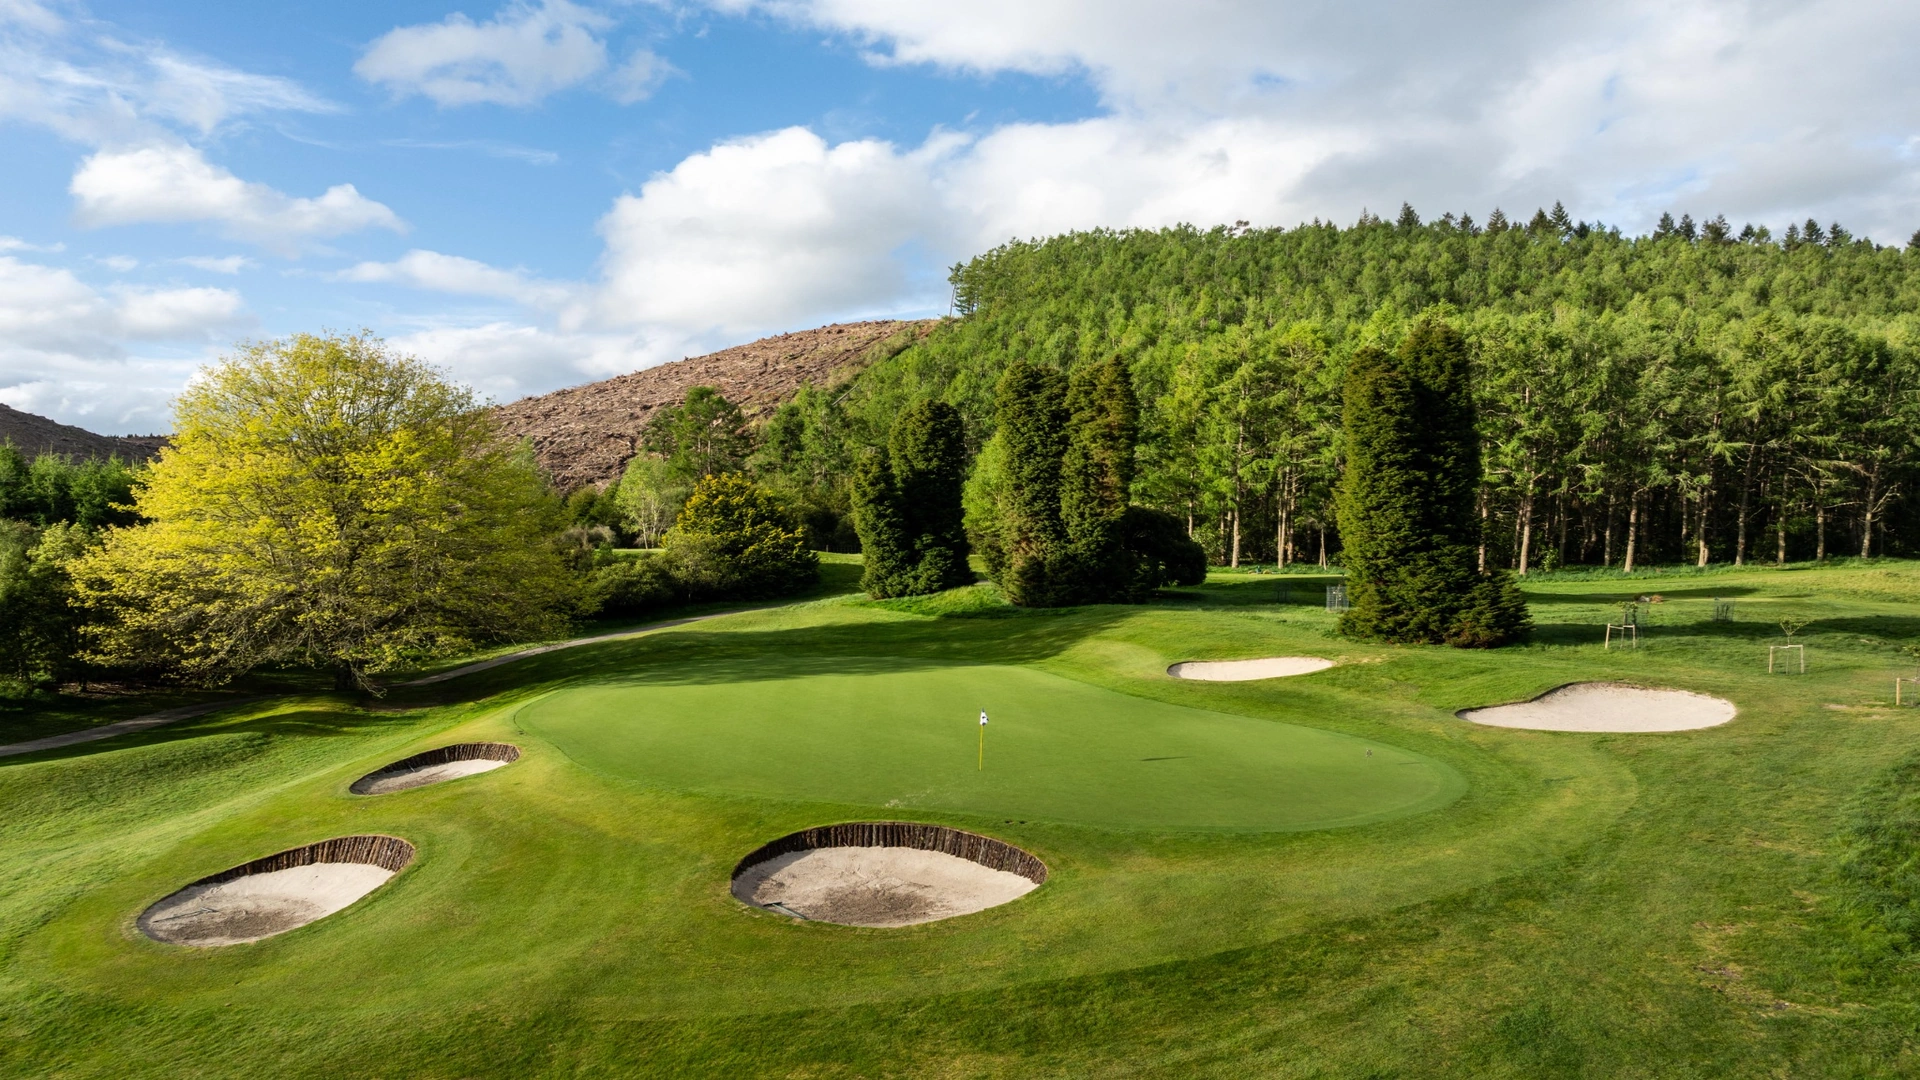
Hole 2 - AWAAWA | Par 3
This hole, a true brute from the back tees, offers a picturesque view of the surrounding landscape. Anything that finds the green is acceptable, but understanding the pin position is crucial from the club tees. Simply reaching the long, two-tiered green may not guarantee an easy two-putt, so plan your approach carefully.
Slide3
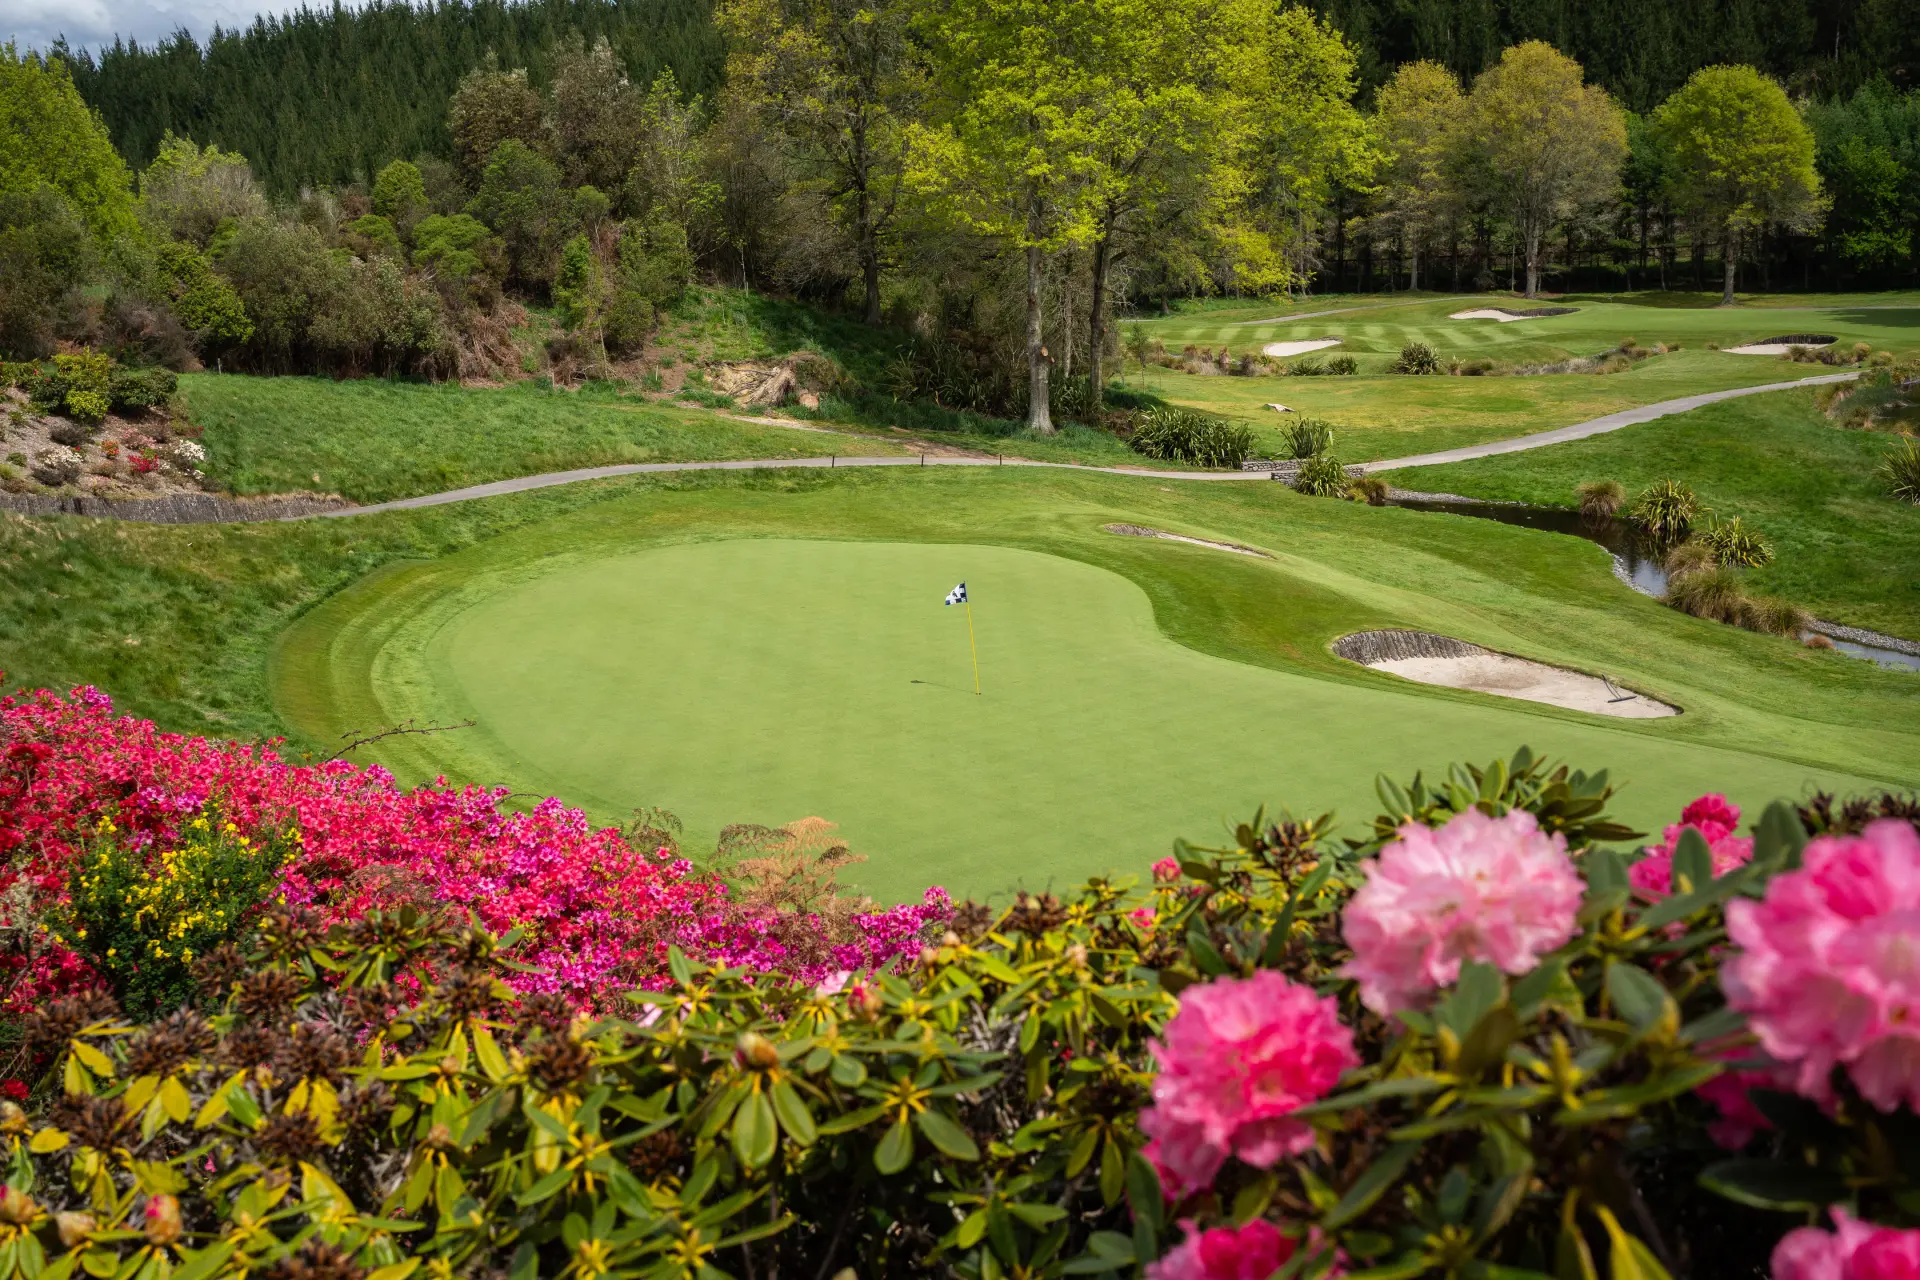
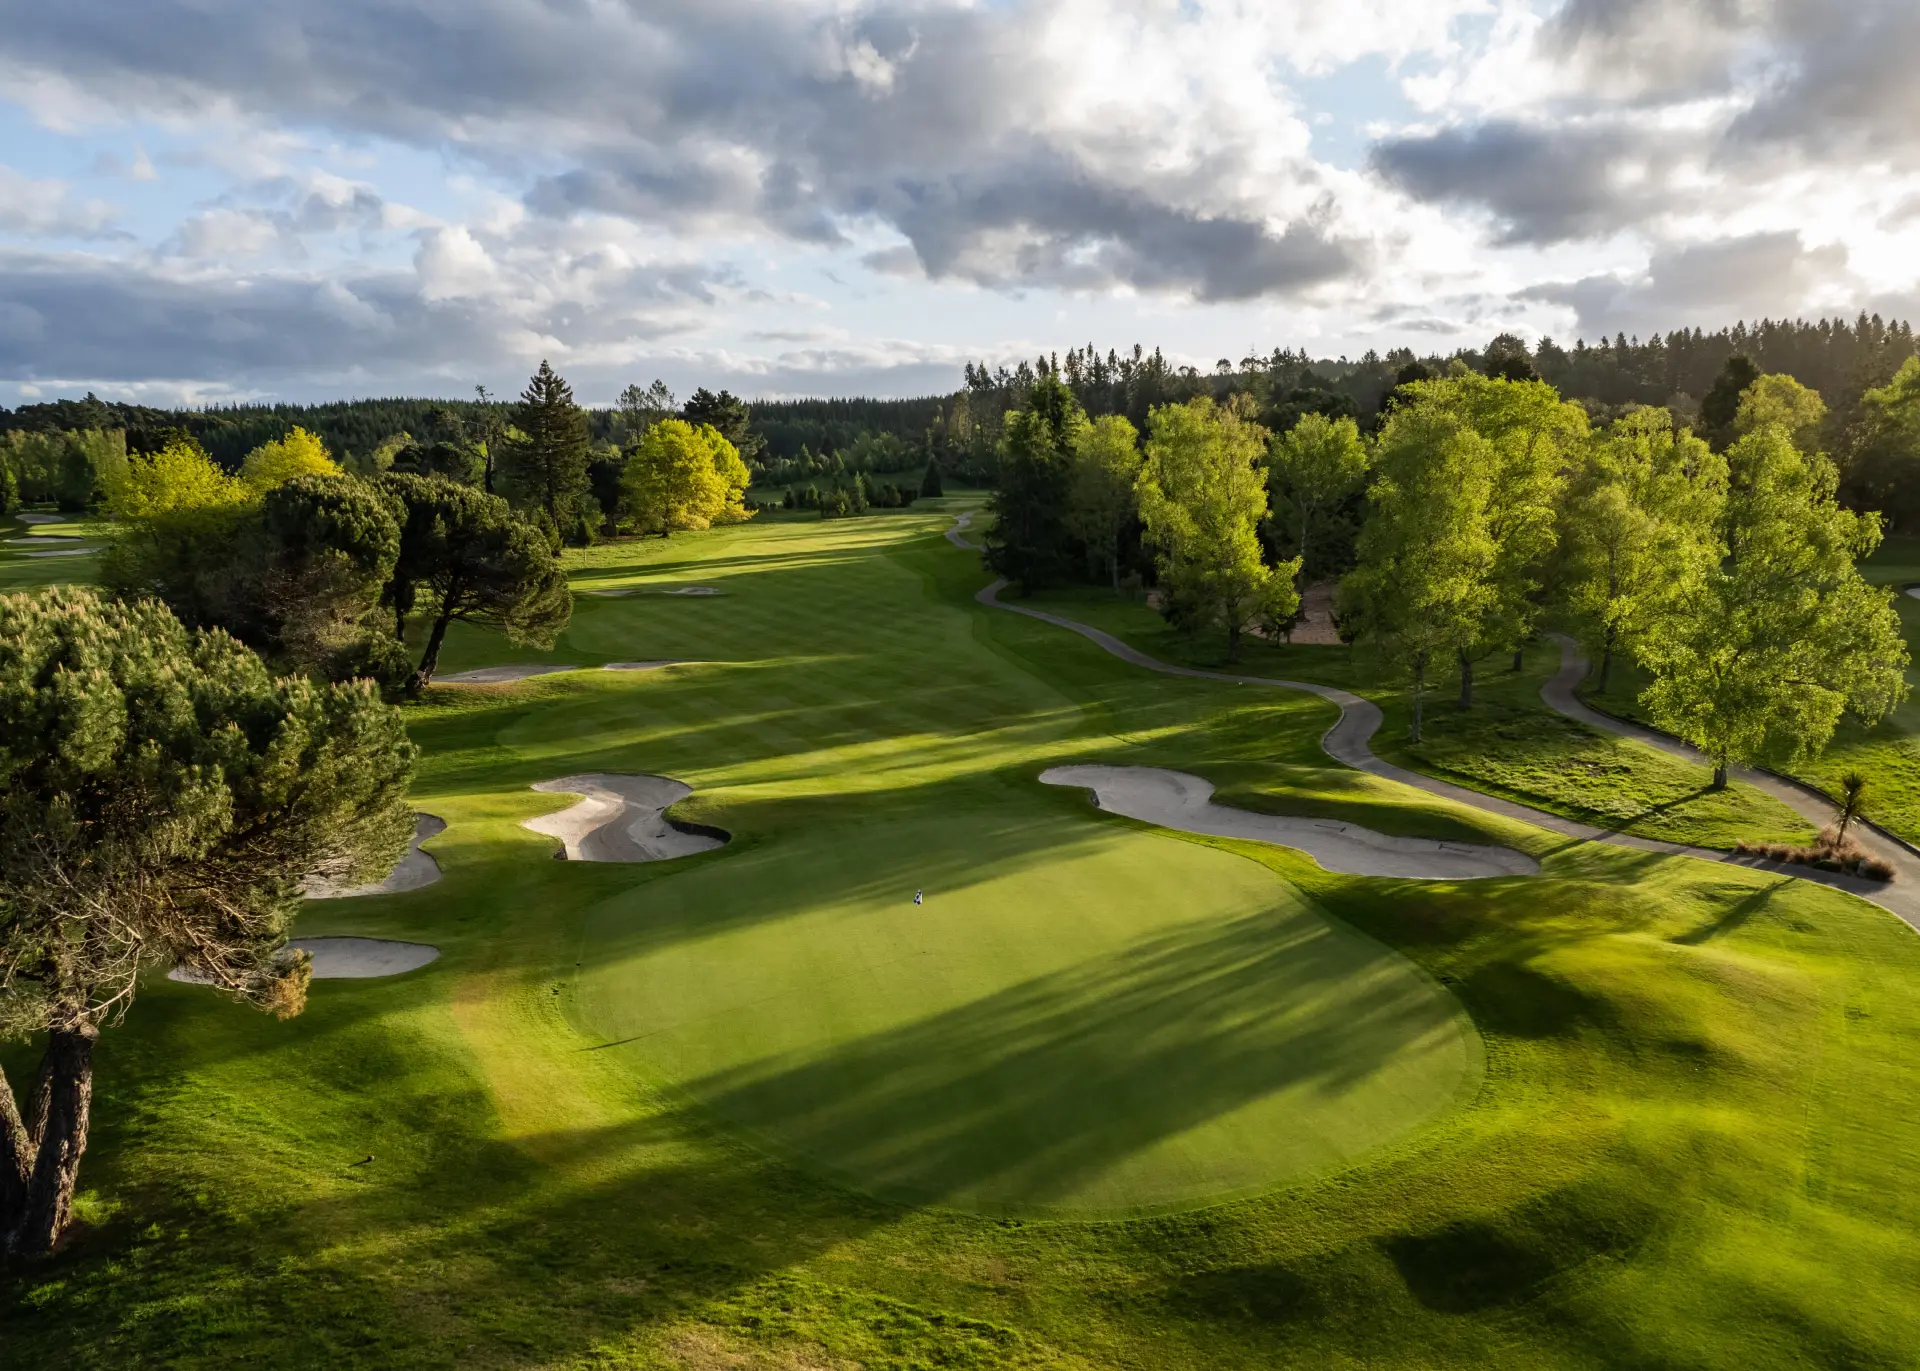
Hole 3- KARAPITI | Par 5
A generous amount of fairway to the right should allow you to avoid the two bunkers on the left. Starting in the southeastern-most corner of the course, this hole often plays into the wind adding an extra layer of challenge. The remainder of the hole is protected along the right side by a series of ponds and waterfalls. The most favourable angle into the green is from as far to the right side as you dare, while avoiding the water. A large bail out area left of the green is available however this will leave a challenging up and down facing the hazard.
Slide4
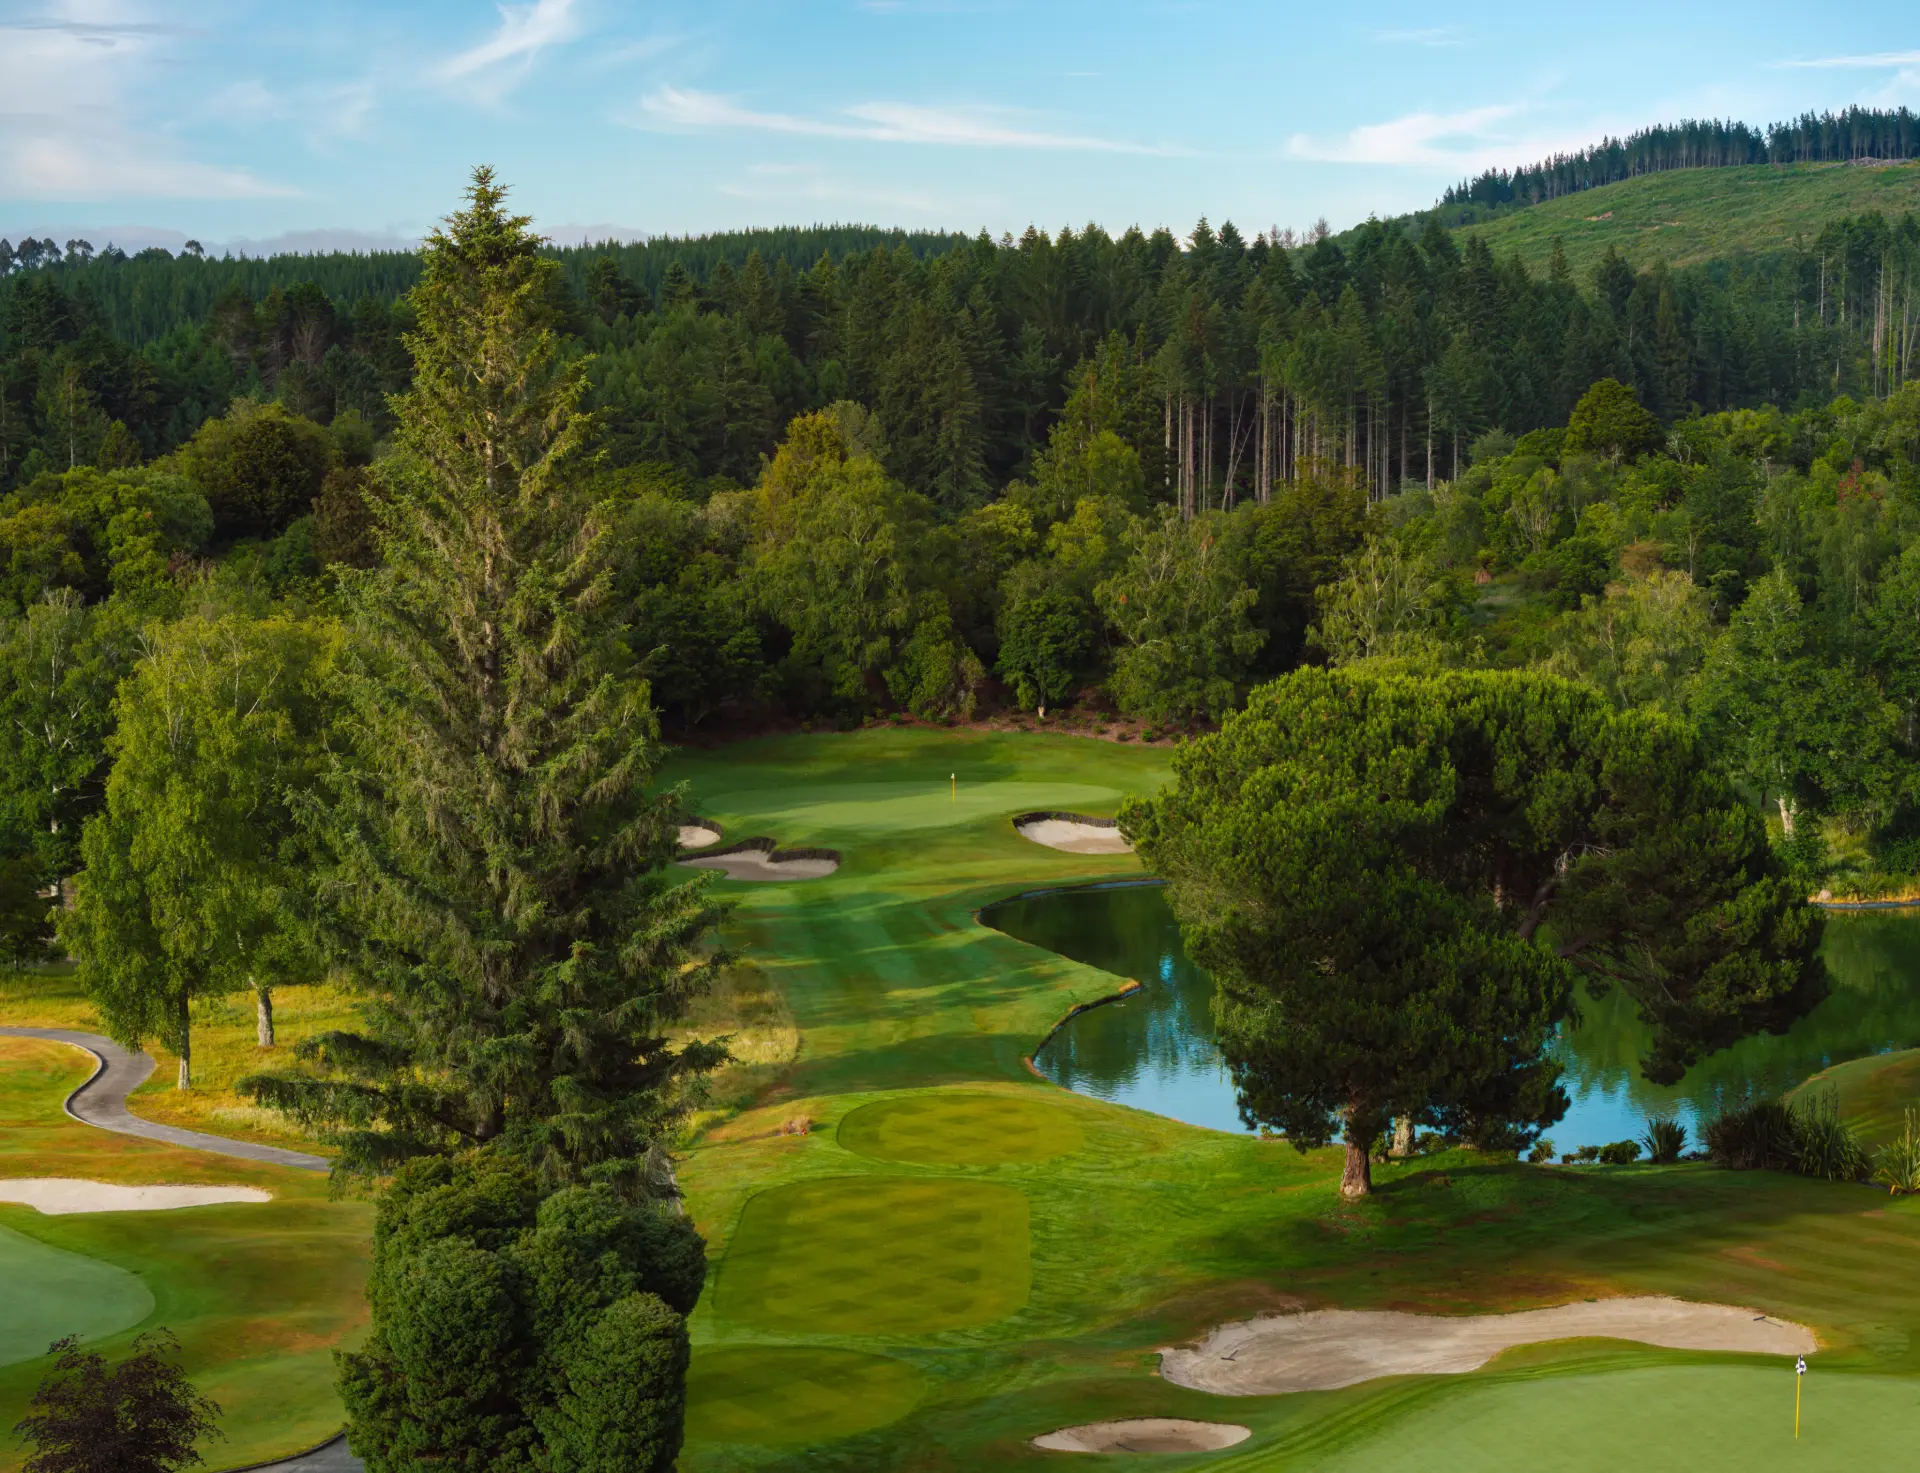
Hole 4 - OLD OAK | Par 4
Your journey starts with a well-placed tee shot to avoid the imposing pine on the left and the two bunkers on the right. For big hitters, leaving your driver in the bag is a wise choice; a creek lies hidden below the end of the fairway. Once safely on the fairway, good contact with the correct choice of club becomes essential for your approach into this diagonally situated green, which features challenging drop-offs both short and long.
Slide5
Hole 5 - TE HURINGA | Par 3
Take note of the pin's position on this par 3, this hole introduces you to Wairakei's feature narrow greens. Err on the side of caution, and club up if you're in doubt; especially if the pin is on the left. Appreciate the delicate balance between man-made and natural elements; the creek meandering through the landscape adds to the charm.
Slide6
Hole 6 - RAWHITI | Par 4
Prepare to be awe-struck by the breath-taking view of Mt Tauhara from this elevated tee. A well-struck drive through the saddle offers the best opportunity to reach the lower level of this two-tiered fairway. The left side of the green is your closest chance, while anything to the right increases the probability of a demanding up-and-down.
Slide7
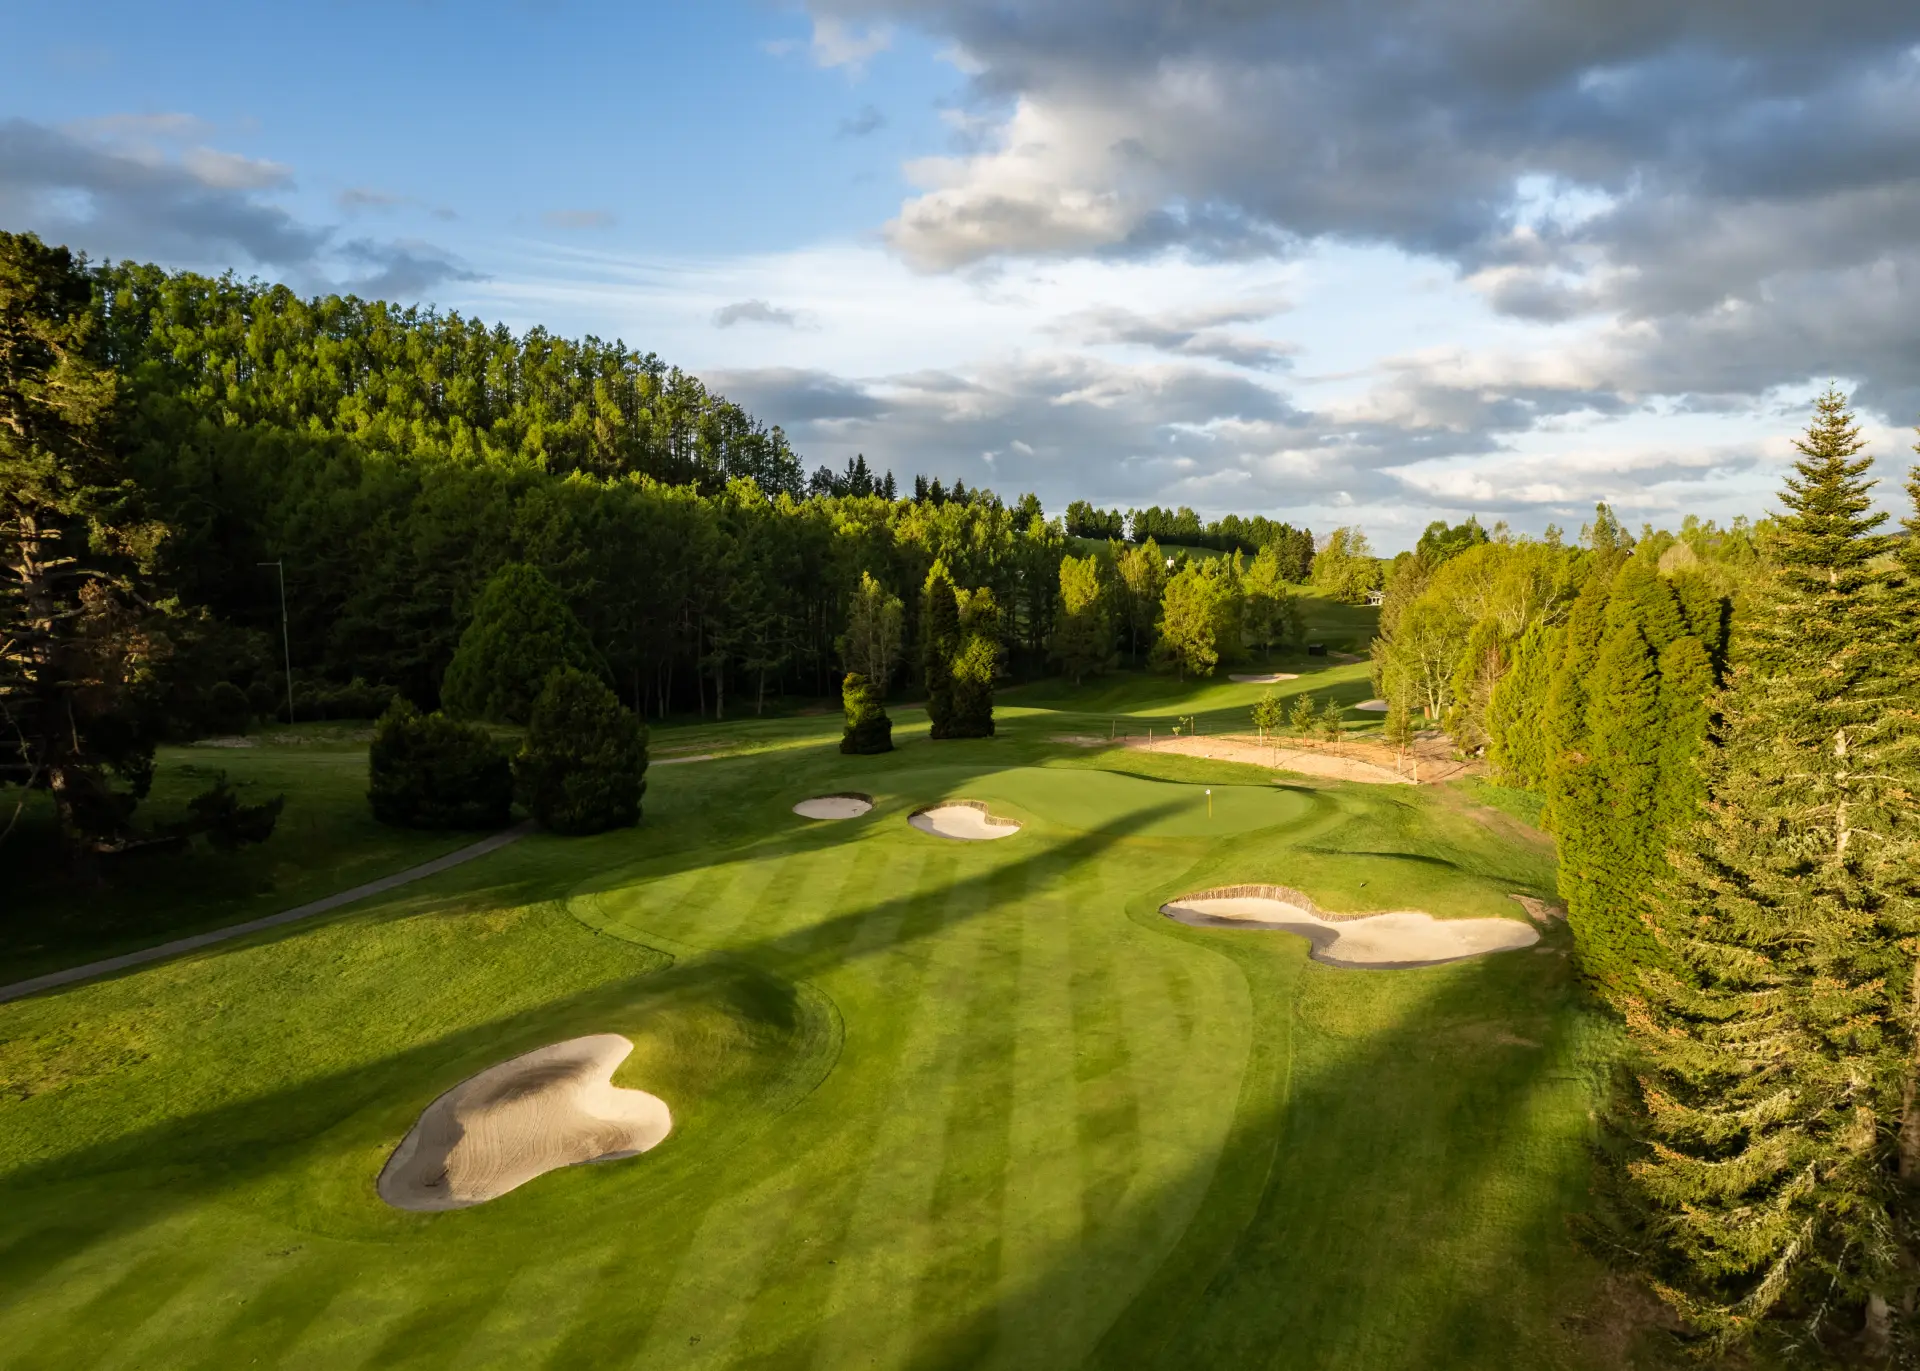
Hole 7 – HUKA | Par 4
On the second of the shorter par 4s, strategy takes the forefront. The hole doesn’t always require a driver from the tee, a well-positioned tee shot that clears the fairway bunker sets up an ideal approach. The green is relatively flat, but distance-control is essential to carry the two front bunkers and avoid overshooting.
Slide8
Hole 8- FARMER'S FOLLY | Par 4
As you approach this hole, your choice of angle off the tee is crucial. Both left and long or short and right off the tee will place you in challenging situations. The widest part of the fairway, and the best view of the green, sits over the left edge of the first pond. Aiming at the centre of the green with your approach gives you the best chance of hitting the putting surface, but hitting the correct tier of the green will largely dictate how many putts are required. A forward pin position provides a shorter approach, but the green widens as the pin moves back.
Slide9
Hole 9 - KIRIKIRI MAHA | Par 4
Although it isn’t the longest par 4 on the course, this hole often plays as though it is. Embrace the gentle dogleg to the left, favouring the left side of the fairway to avoid the three bunkers on the right. A left pin position is well protected by a large greenside bunker. Take note of the length of this green when choosing a club for your approach.
Slide10
Hole 10 – WAI KOWHAI | Par 3
An extra club might be required for the elevation of the green on this mid-length par 3. Don’t let the large pond distract you from your tee shot. The two bunkers at the front of the green add to the aesthetics while requiring precise ball striking to navigate the narrow entranceway.
Slide11
Hole 11 – RUAPEHU | Par 4
The 11th hole is the first of consecutive short par 4s that emphasise precision over power. Be cautious of the pond in front of the green, whether from the tee or during your lay-up. The green itself is particularly narrow from the left through the centre, demanding correct club selection and controlled ball striking.
Slide12
Hole 12 – TONGARIRO | Par 4
Your tee shot on this short par 4 involves a decision; lay up into the wide section of the fairway or take on the creek. Your second shot is played uphill to another narrow green, and aiming anywhere right of centre will likely finish further right on the lower tier. The waterfall cascading from the hillside back left adds another dimension to the beauty of the hole.
Slide13
Hole 13 – MANIA TE TONGA | Par 4
Surrounded by native bush, a solid drive between the fairway bunkers is required off the tee of this long par 4. The greenside bunkers both left and right pose a challenge, demanding pinpoint accuracy for your approach. Pay attention to the pin position; the green becomes thinner, and falls away on both sides, the further back you go.
Slide14
Hole 14 - THE ROGUE | Par 5
One of New Zealand’s truly iconic par 5s, this hole offers no let up from tee to green. Start with a long tee shot threading the fairway bunkers, opening up the fairway and providing a panoramic view of the large, elevated kidney-shaped green. Position your second shot thoughtfully to grant yourself the best angle into this severely sloping green; any putt from above the hole requires extreme care and a delicate touch.
Slide15
Hole 15 – PUKE WIWI | Par 3
Starting from the southwestern-most part of the course, wind conditions and pin placement must be considered on this long par 3. The green sits atop a large gully, and a left pin position will make this hole play longer than it appears.
Slide16
Hole 16 – TAUHARA | Par 4
Savouring the incredible view of Mount Tauhara, the fairway’s slope and the blind landing area require an assured shot from the tee. Attempting to over-power this hole is met with great risk; play your approach from the centre of the fairway to grant yourself the best look at the large green.
Slide17
Hole 17 – KAAPO | Par 4
Another blind tee shot, a ball drifting right of centre will usually miss the fairway. The last of Wairakei’s narrow greens necessitates a well struck approach to get the ball over the false front, while stopping the ball from falling off the back of the green. Every aspect of this hole demands a strategic approach.
Slide18
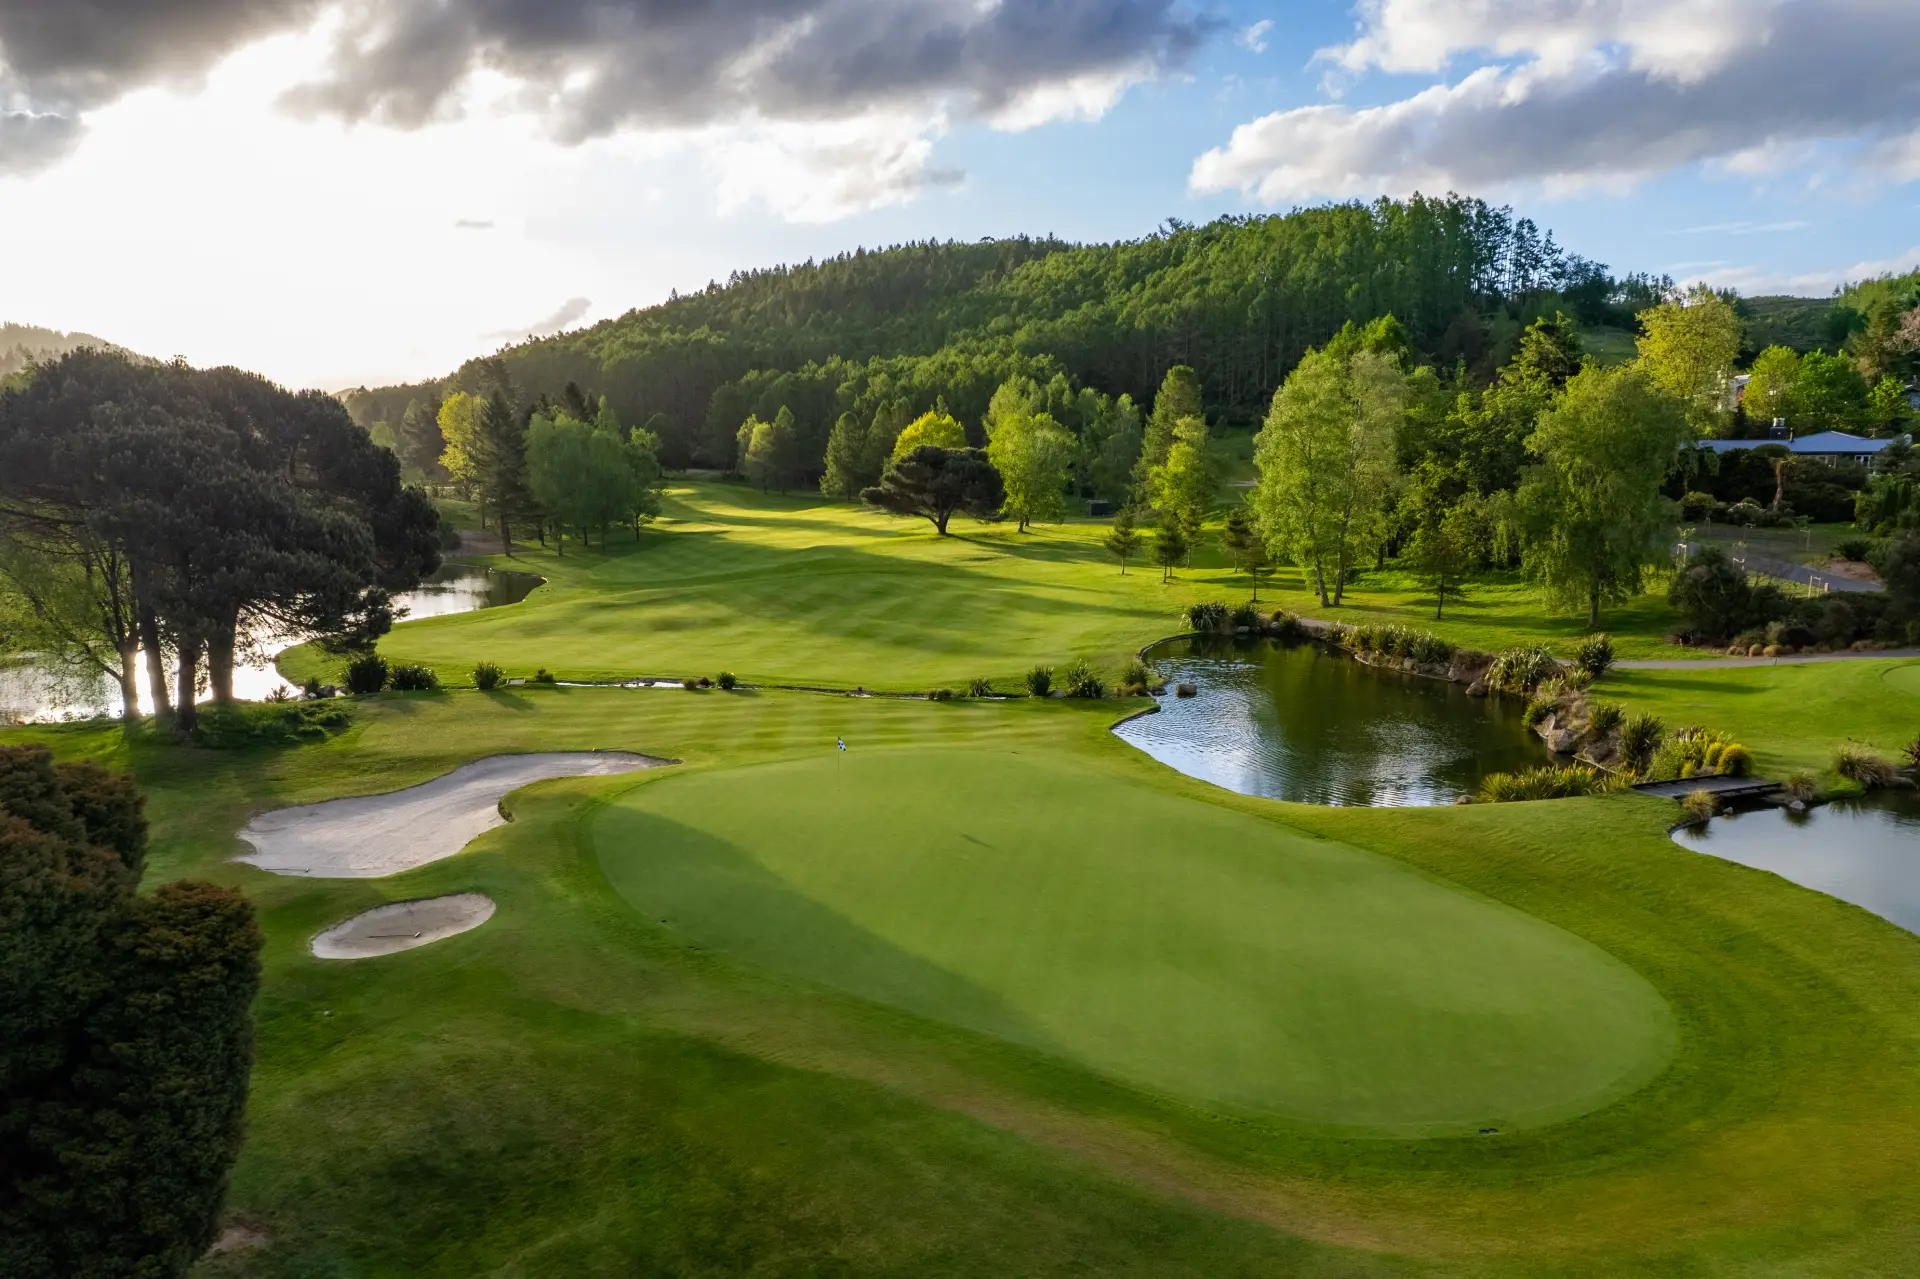
Hole 18 – PAENGA TUI | Par 5
The pond and waterfall to the left of the green are visible from the tee, making this an eye-catching par 5 finishing hole, and leaving you no doubt as to the challenge that lies ahead. Bigger hitters may be tempted to go for this green in two, but the risks are clear. As you stroll across the footbridge to the green, take a moment to reflect on your round and appreciate the holistic experience that is Wairakei Golf + Sanctuary; Wairakei’s skilful integration with the natural landscape makes it a truly remarkable golfing experience